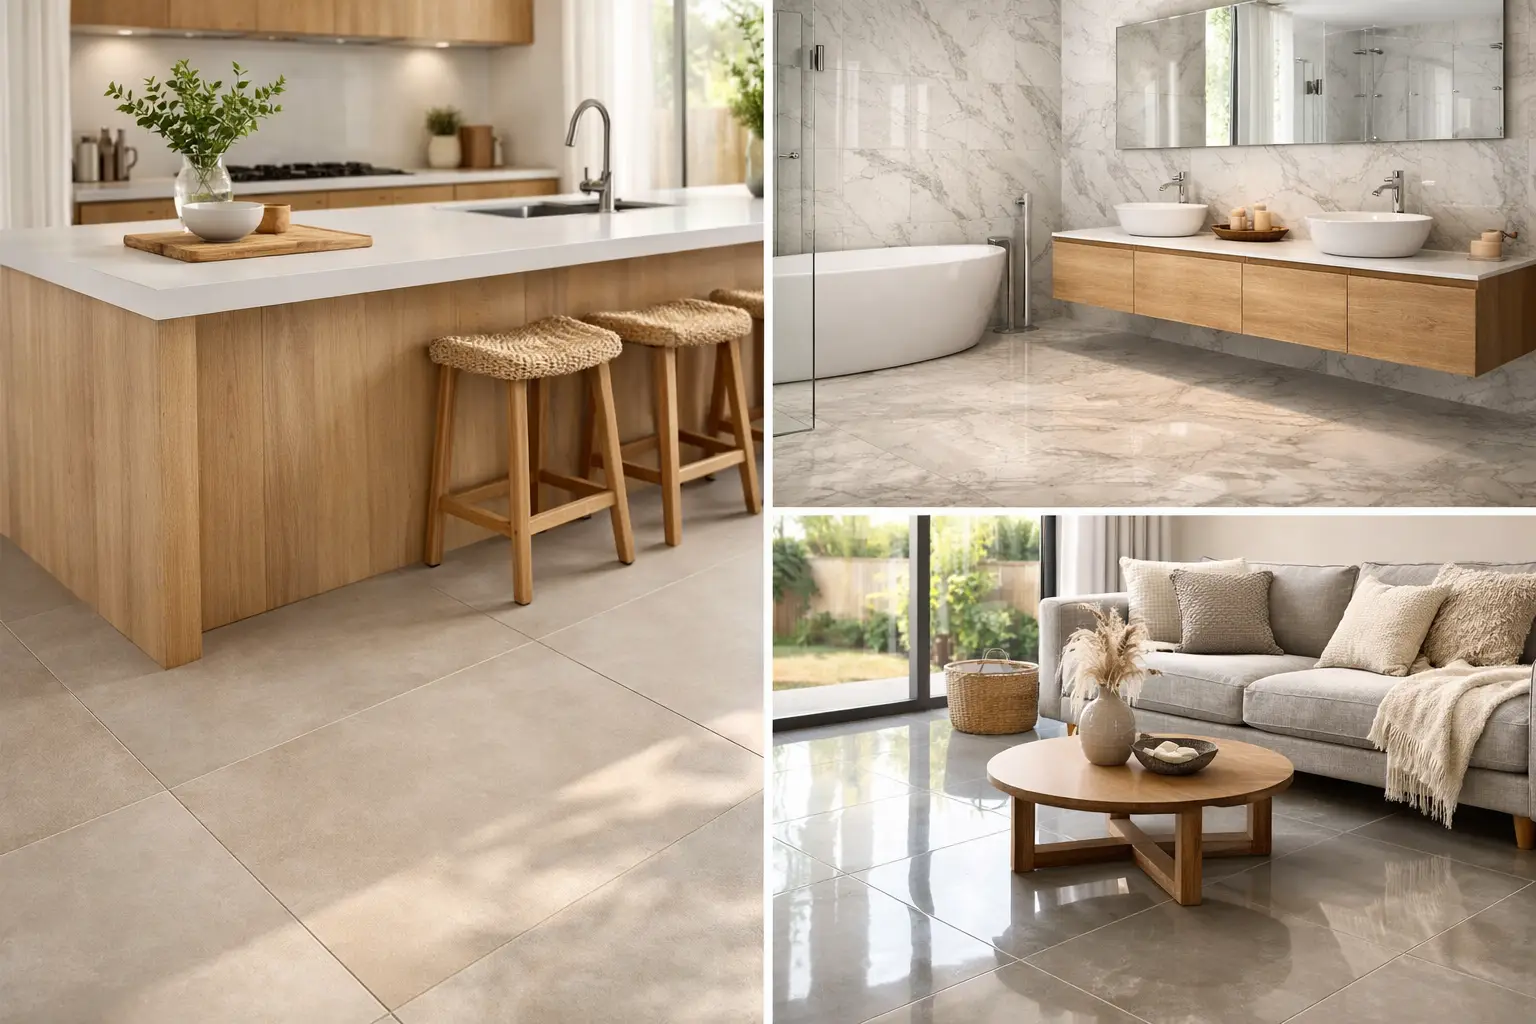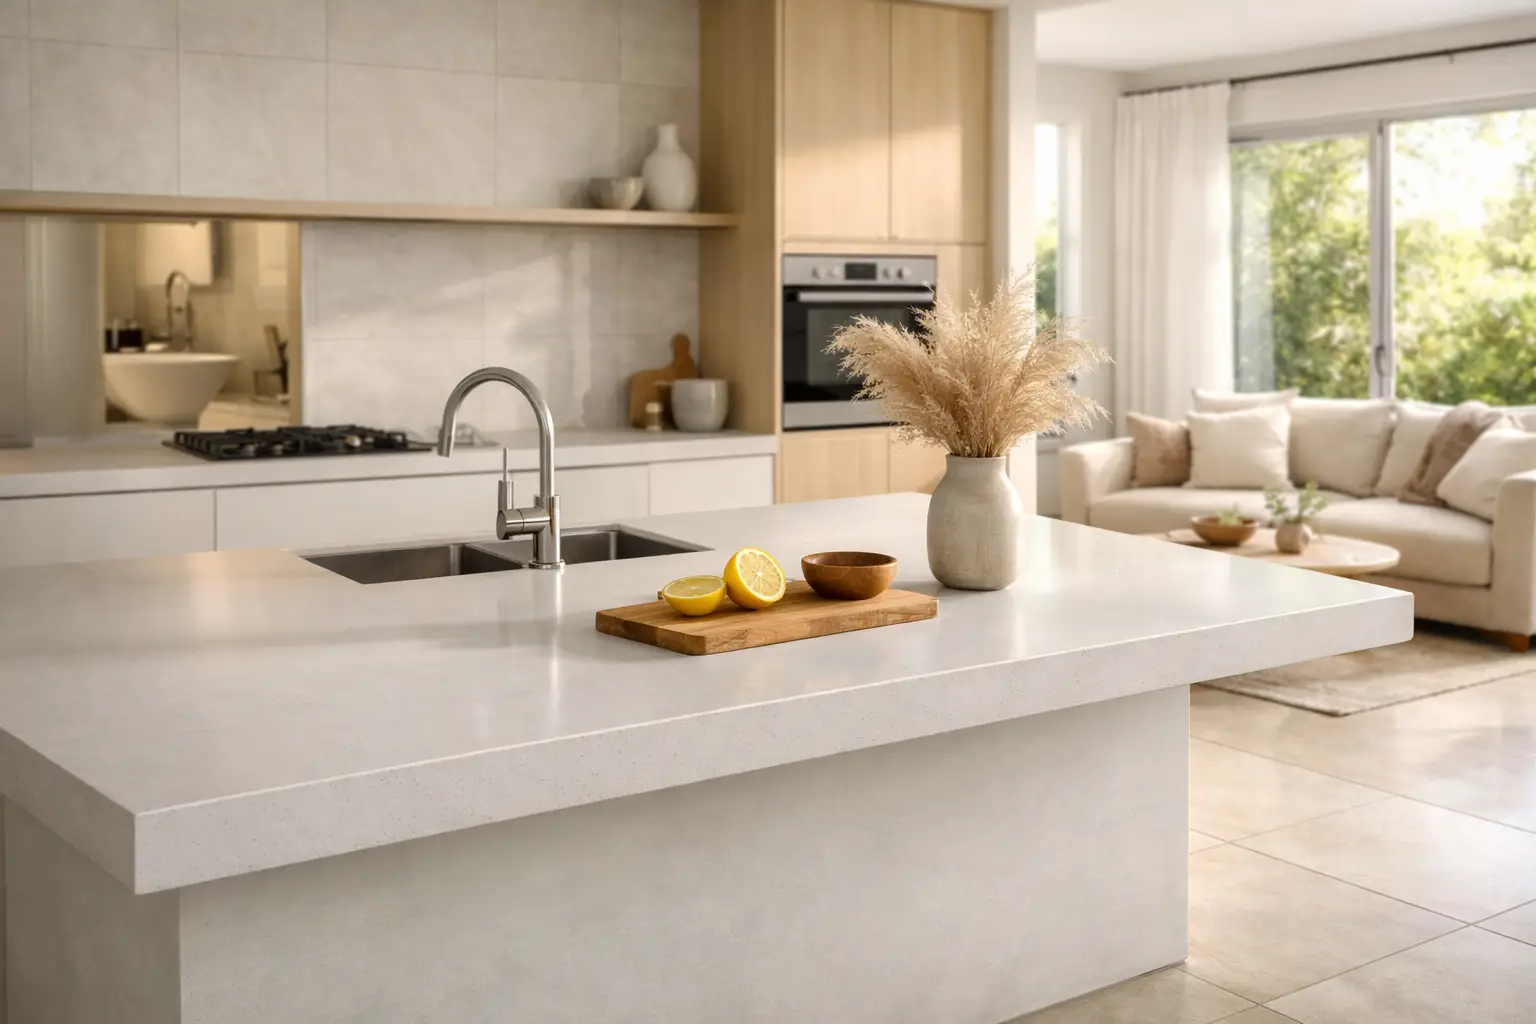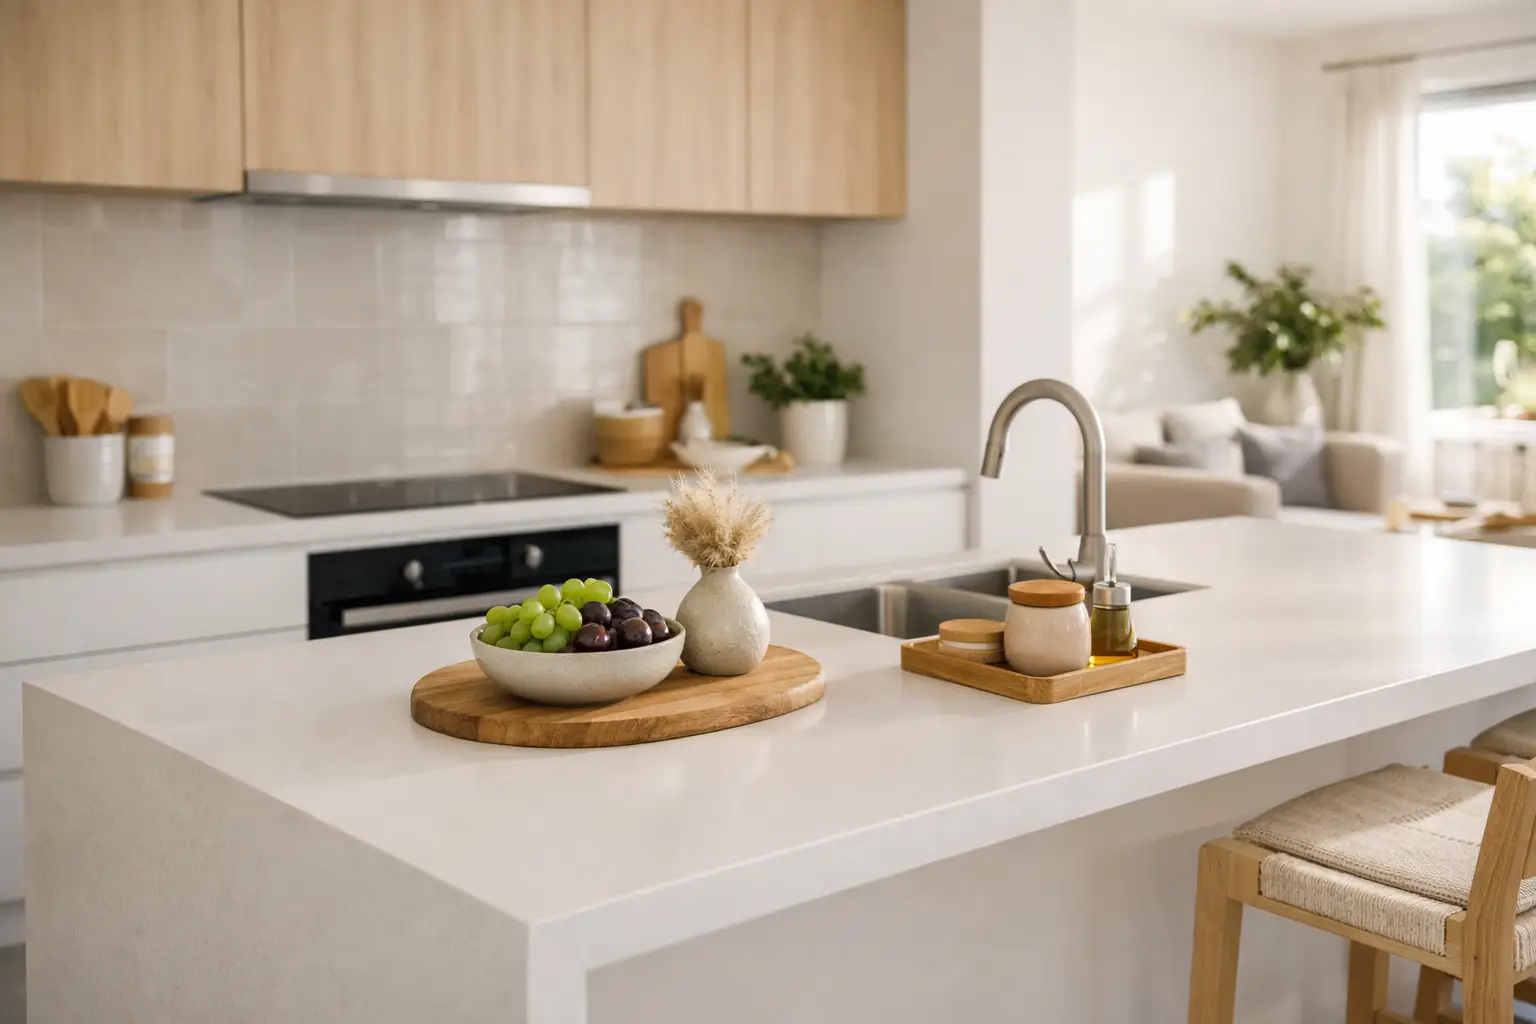
Running short on tiles halfway through a bathroom fit-out is one of those renovation problems that looks small until it delays everything. If you are working out how to plan tile quantities, the aim is not just to cover the floor or wall on paper. It is to allow for cuts, pattern direction, breakages, future repairs and the realities of installation.
Good quantity planning saves time, avoids colour-batch issues and helps keep your renovation moving. It also gives you a more accurate budget from the start, which matters whether you are renovating a family bathroom, specifying large format porcelain tiles for an open-plan living area, or coordinating with a tiler and builder on a full home project.
How to plan tile quantities without guesswork
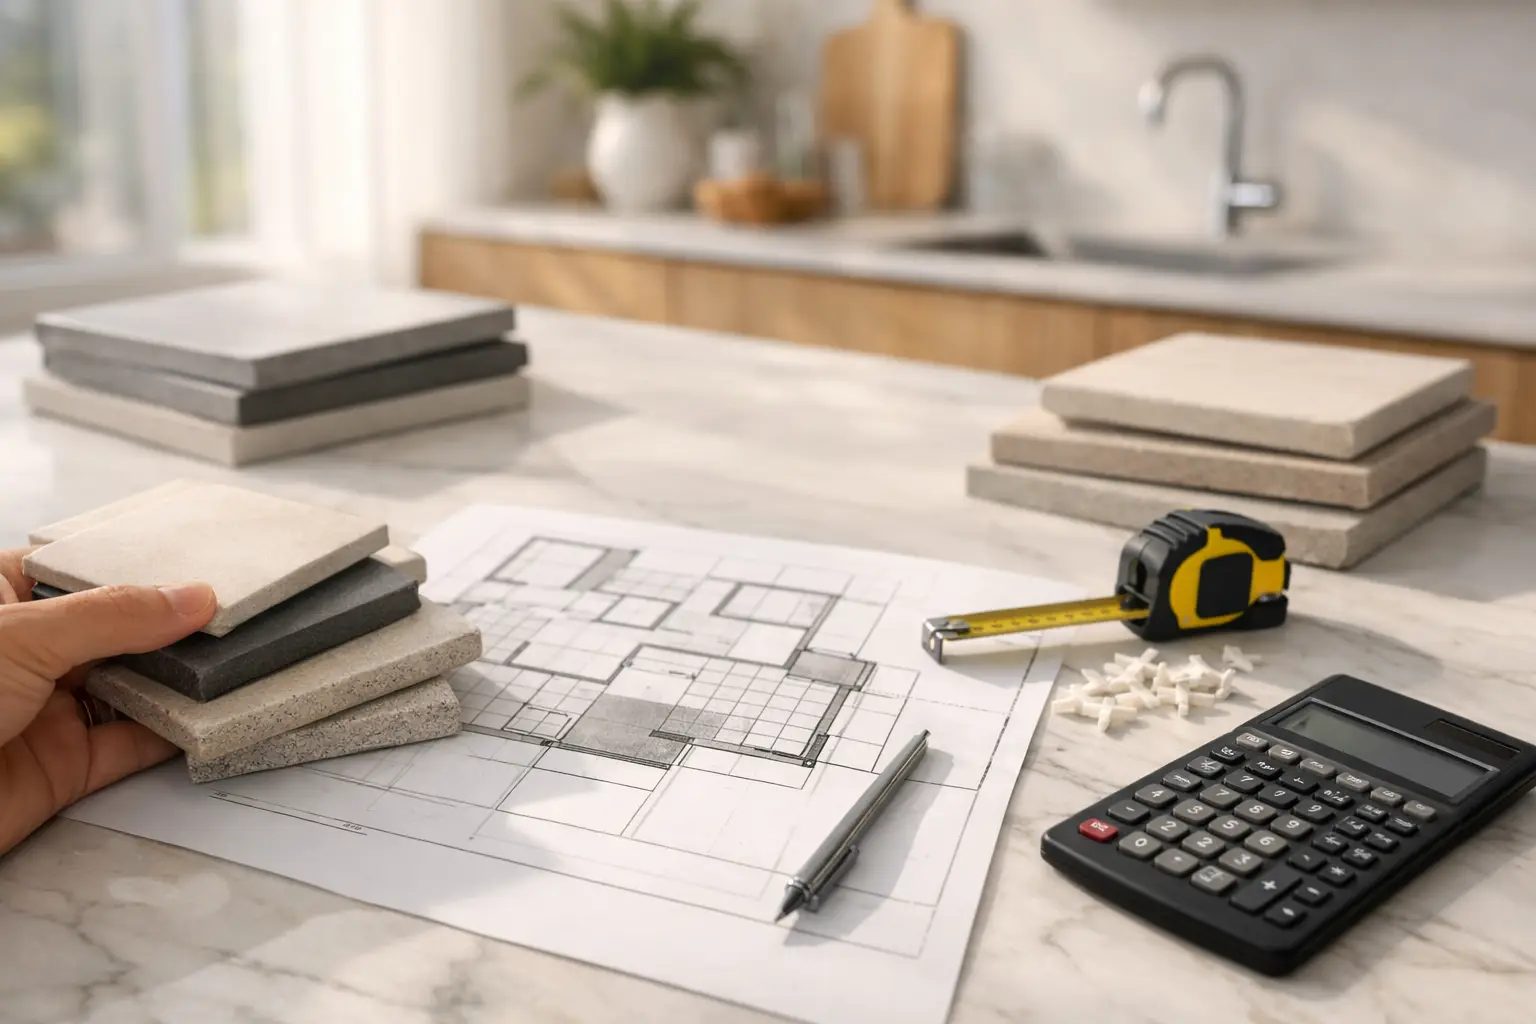
The first step is measuring the actual area that will be tiled, not the rough room size from a plan. On floors, measure the length and width in metres and multiply them to get square metres. On walls, measure height by width for each wall section, then add those figures together.
That sounds simple, but details matter. A shower niche, island return, hob wall, laundry splashback or nib wall can change your numbers more than people expect. The safest approach is to break the room into clear rectangles, calculate each area separately, then total them.
If there are windows, doors or built-in joinery, you can subtract them in some cases, but not always. For small wall areas, many tilers prefer not to deduct every opening because tile cutting still creates waste. In a kitchen splashback, for example, power points, corners and rangehood sections can use more tile than the plain square metre rate suggests.
Once you know the area, compare it with the coverage listed per box. Most tile cartons state how many square metres they cover. Divide your total area by that coverage figure, then round up to full boxes. Always round up, never down. Tiles are sold in cartons for a reason, and the extra fraction is rarely wasted once cuts are considered.
Why wastage matters more than people think
The most common mistake when planning tile quantities is ordering only the exact measured area. In real installation work, tiles are cut at edges, around drains, trims, tapware, vanities and corners. Some pieces crack during cutting. A few may arrive damaged in transit or be set aside if the pattern or shade is not right for a prominent position.
As a guide, add around 10 per cent extra for straightforward layouts with standard tile sizes and minimal cutting. If the layout is more complex, 12 to 15 per cent is often more realistic. That includes diagonal laying patterns, herringbone, feature walls, small-format mosaics, rooms with lots of corners, and spaces using large format tiles where every cut is more consequential.
The larger and more visible the tile, the more carefully installers tend to select each piece. With rectified porcelain tiles, for instance, the finish is crisp and premium, but installers may reject the occasional tile if a corner chip would affect the final result. That does not mean the product is poor quality. It means high-end finishes are less forgiving of installation shortcuts.
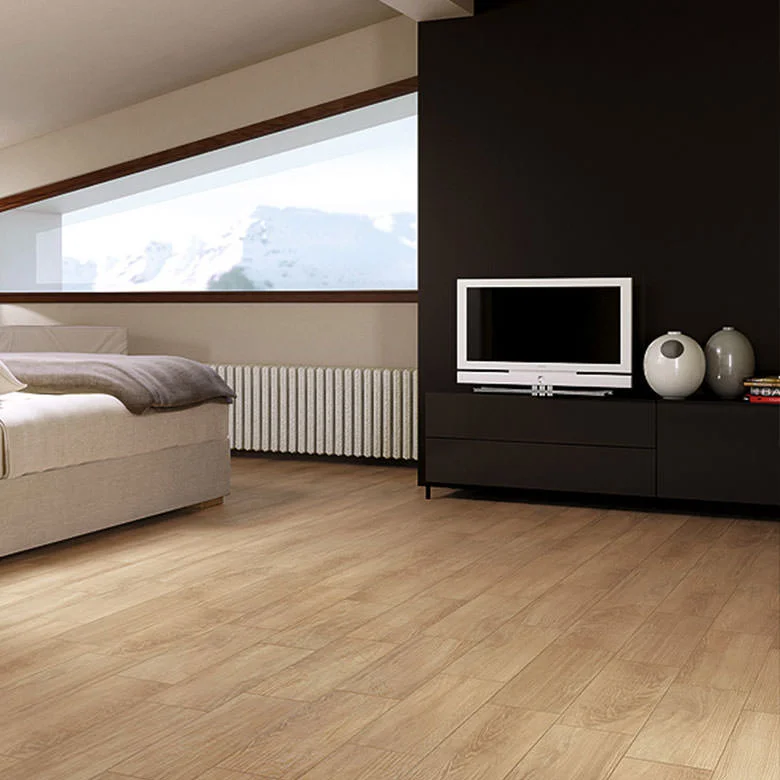
Keeping spare tiles after the job is finished is also worthwhile. A few leftover tiles can make future repairs much easier if a tile is damaged years later. Batch colours and surface finishes can vary between production runs, especially in natural-look designs such as stone-look, terrazzo-look or timber-look porcelain.
Room type changes the way you calculate
Not every space should be planned in the same way. A simple square laundry floor is one thing. A bathroom with floor waste falls, niche detailing, full-height wall tiling and feature strips is another.
For floors, you can usually measure the whole room area, then account for cuts and waste. Bathrooms deserve extra care because floor grading around the drain can influence tile size choice and waste factor. Smaller formats may suit steeper falls, while large format floor tiles can require more precise planning and cutting.
For walls, think beyond square metres. Tile layout matters just as much as area. A full-height bathroom wall in a 600 x 1200 porcelain tile may look clean and spacious, but if the wall dimensions do not align neatly with the tile module, wastage can climb. The same goes for a kitchen splashback where the tile size needs to work around overhead cupboards, stone benchtops and window frames.
Outdoor areas also need a practical lens. Slip resistance, tile thickness and edge detailing can affect the format you choose. If you are using external porcelain pavers or structured finishes, allow enough material not only for the field area but for steps, edges and any cuts around posts or drains.
Tile size and pattern can increase or reduce waste
If you want to know how to plan tile quantities accurately, you need to look at layout before ordering. The same room can need different quantities depending on tile size, orientation and pattern.
Straight lay is usually the most efficient. Stacked vertical or horizontal wall layouts also tend to keep waste under control, especially when the room dimensions suit the tile size. Brick bond or offset patterns can create more offcuts, particularly with long plank tiles. Diagonal layouts usually generate even more waste because perimeter cuts become triangular and harder to reuse.
Feature patterns need the most planning. Herringbone is a good example. It looks refined and adds movement, but it generally needs a higher waste allowance due to the number of cuts and the direction of the pattern. Mosaics can reduce waste in some tight areas because they conform to shapes more easily, but they also need careful ordering if sold by sheet and mixed with field tiles.
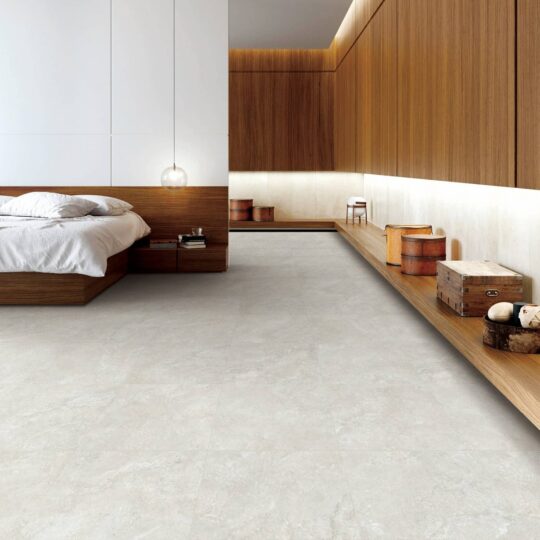
Large format tiles can be efficient in open areas because there are fewer grout joints and often fewer pieces overall. Still, they should not be treated as a simple square metre exercise. Their weight, handling requirements, room access and exact set-out matter. A premium result depends on planning the starting point so cuts at edges are balanced rather than narrow and awkward.
Check the set-out before you place the order
A proper set-out can prevent expensive over-ordering and under-ordering. This is where many homeowners and even some renovators can benefit from a second set of eyes.
Set-out means mapping where the tiles start, where joints will land, and what size the cuts will be at the edges. It affects both aesthetics and quantities. If a bathroom floor starts with a full tile at one wall and finishes with a 40 mm sliver at the other, the layout probably needs to be adjusted. Better planning may create more even cuts and use the material more efficiently.
This is especially important for premium architectural surfaces, rectified porcelain, and large format tiles where symmetry matters. A 3D design or measured layout can help you visualise this before a single carton is ordered. For homeowners, that means more confidence. For builders, designers and tilers, it reduces the chance of site delays and variation claims later.
If you are matching floor tiles through multiple connected spaces, plan them together rather than room by room. Hallways, living areas, powder rooms and laundries often look better when tile joints align through transitions, but this may change the quantity required.
Practical checks before finalising quantities
Before you confirm the order, make sure you know whether the tile is sold by box, by square metre or by piece. Confirm the nominal size and the actual size, because they are not always identical. A tile described as 600 x 600 may have a slightly different manufactured size once grout joints are considered.
Check whether the tile is rectified, what finish it has, and whether it is suitable for the intended space. For family homes, durability matters just as much as appearance. PEI rating helps indicate wear resistance for glazed porcelain floor tiles, while slip resistance is important in bathrooms, laundries and outdoor areas. Those technical details will not directly change the square metre calculation, but they can influence tile format, layout and installation method.
It is also worth confirming stock availability before locking in your installer. Ready stock can make a real difference when timelines are tight or the build schedule shifts. For Melbourne projects, suppliers with warehouse stock and fast turnaround can reduce the stress of waiting on backorders or split deliveries. Services such as professional measuring and 3D design can also help refine quantities before purchase, particularly for kitchens, bathrooms and full renovation work.
The safest approach is to treat quantity planning as part maths, part design decision and part practical site planning. Measure carefully, allow for waste honestly, and think about how the tiles will actually be laid – not just how they look in a sample board. When the numbers are done properly, the installation tends to feel calmer from day one, and that is exactly what a good renovation should deliver.