
Tile, Stone, and Timber Renovation Guides
By Verona Ceramic Editorial Team · Updated 2026-07-25
A comprehensive tile, stone, and timber renovation guide covers 3 core stages: surface assessment, material-specific preparation, and finishing treatment. Homeowners must test stone porosity before sealing, sand timber to 120-grit before staining, and grout tile joints within 24 hours of installation for durable, long-lasting results across all three surface types.
Renovation guides cover tile, stone, and timber selection based on foot traffic, moisture. Cleaning needs, plus demolition-free tiling methods that eliminate the dust, debris, and weeks-long disruption of traditional subfloor prep, delivering durable finishes for kitchens, bathrooms, and exteriors within realistic budgets.
Renovation planning hinges on matching material to room demands: porcelain and ceramic tiles like the 600x600mm Espera Series suit wet areas. High-traffic floors, engineered stone benchtops resist stains without silica risk, and European Oak timber adds warmth to living spaces. Budget, moisture exposure, and foot traffic determine the right combination before purchasing.
What Should You Prepare Before Starting Your Renovation?
Four items belong on every renovator’s checklist: room usage assessment, budget confirmation, material verification, and delivery scheduling. Skipping any one of these steps risks mismatched tiles, blown budgets, or a project stalled at the front door waiting on materials. Sound renovation guides treat preparation as a sequence, not a single decision made at the tile showroom.
Room function comes first. A busy kitchen floor, a quiet bedroom, and a wet-area bathroom each demand different slip ratings, water resistance, and wear performance. Settling this question before browsing style catalogs keeps homeowners from falling for a finish that fails under real conditions.
Budget confirmation follows immediately after. Locking in a price range early lets renovators explore options with confidence, rather than committing emotionally to a premium stone or timber look that stretches past what the project can absorb.
How do you avoid ordering mistakes before installation?
Dye lot verification and square footage confirmation prevent the two most common ordering errors in any tiles installation guide: mismatched batches and material shortfalls. Confirming both figures before placing an order protects against color variation between boxes. The frustration of a job halted mid-install.
- Measure the room and add a reasonable overage allowance for cuts and waste.
- Confirm dye lot numbers match across every box ordered.
- Cross-check material quantities against the final layout plan.
- Schedule delivery around the installer’s actual start date.
Why does delivery timing matter for scheduling?
Delivery windows directly shape how a renovation timeline holds together. A 3-day home delivery service within a defined local radius, for example, still requires coordination with trades, benchtop planning, and installation crews so nothing sits idle or arrives too late.
How Do You Choose Between Tile, Stone, and Timber?
Material selection depends on three factors: how the space gets used, how much upkeep the household can sustain, and what look the project demands long term. Homeowners who skip this evaluation risk costly mismatches. A timber floor in a flood-prone laundry, or a porous stone benchtop under a busy kitchen sink. Verona Ceramic’s range spans premium European Oak, engineered timber flooring, luxury tiles, and next-generation engineered stone, giving renovators room to match material to function rather than settle for a single default option.
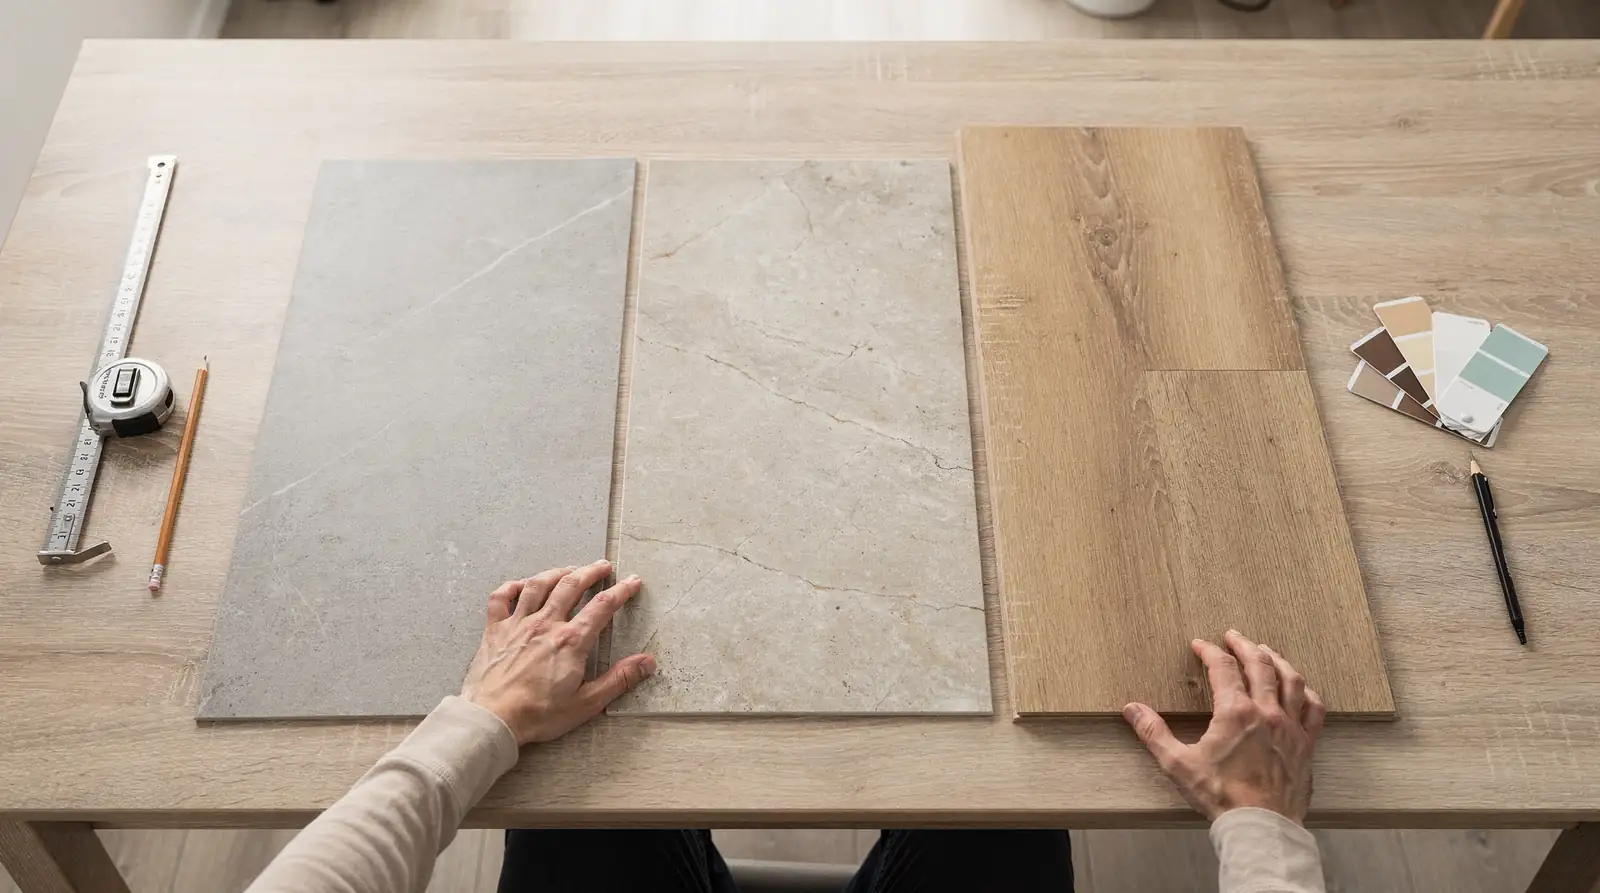
Tiles remain the most versatile category, but not all tiles perform equally. Ceramic, porcelain, glass, and natural stone tiles differ significantly in durability, water resistance, and maintenance demands. Porcelain, specifically, earns its reputation for toughness and moisture resistance, which makes it a strong candidate for busy households with kids, pets, or heavy foot traffic.
Which Material Works Best for Kitchens and Bathrooms?
Wet areas favor porcelain tile or engineered stone over timber, since both resist moisture without warping. Benchtop planning should prioritize zero-silica engineered stone for kitchen and bathroom surfaces. These next-generation surfaces combine eco-friendly manufacturing with practical, everyday performance, holding up to splashes, heat, and daily wear on benchtops and splashbacks alike.
How Should Renovators Compare Options Before Buying?
A structured comparison like this belongs in every renovation planning phase. Sound renovation guides always start with room-by-room material mapping before budget gets locked in, preventing expensive substitutions mid-project.

How Do You Select the Right Tiles Room by Room?
Room function dictates tile choice before style ever enters the conversation. A bathroom floor demands slip resistance and water tolerance. A kitchen splashback prioritizes stain resistance and easy wiping; a living area rewards large-format elegance. Melbourne renovators benefit from renovation guides that map material options against these functional needs. The market offers a wide variety of materials, finishes, and formats suited to almost any design brief.
Bathrooms and wet areas call for materials that balance safety with visual softness. Ceramic tiles bring a vast array of colors. Patterns, letting homeowners express personality even where the material trades off some durability against porcelain. For a family bathroom or ensuite, that personality-driven palette often outweighs the marginal durability gap, provided the finish suits wet-area use.
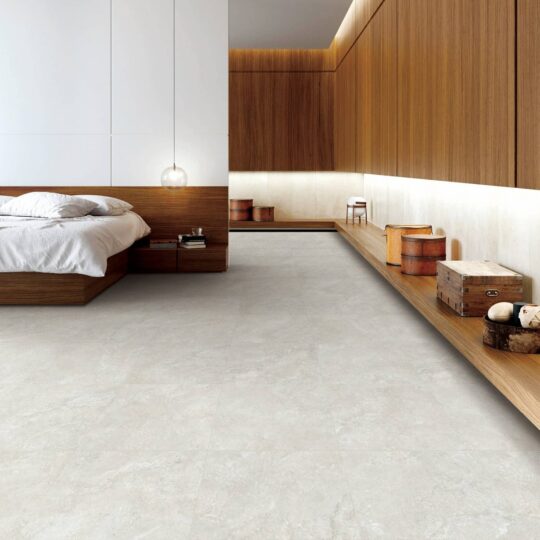
Open-plan living zones and feature walls favor scale over pattern. Large-format porcelain, such as a 600x600mm option in soft cream tones, suits continuous floor layouts, feature walls, luxury bathrooms, and high-traffic residential spaces alike. cite-2 Fewer grout lines mean a cleaner sightline across connected rooms, which matters most where kitchen, dining, and living spaces flow into one another.
Which tile trends should renovators watch?
Large-format porcelain paired with natural, warm tones is defining current Melbourne interiors. cite-3 These trends favor practicality alongside aesthetics, giving renovators finishes that feel current without sacrificing performance in high-traffic zones.
How does room-by-room selection connect to broader planning?
Tile choice never happens in isolation from other renovation decisions. A tiles installation guide should always be read alongside benchtop planning. Floor, wall, and benchtop materials need to work as a coordinated system rather than separate purchases.
What Belongs on Your Tiling Supplies Checklist?
A complete tiling supplies checklist starts with tile selection, since color, size, and finish drive every decision that follows. Skipping this first step costs renovators money later, through mismatched adhesives, missing trims, or a rushed second order mid-project. Tile choice depends not only on aesthetic preference but also on the specific demands of the room: moisture levels in a bathroom, foot traffic in a kitchen, slip resistance near an entryway.
Solid renovation guides stress building a full checklist before purchasing a single box of tile. Assembling the correct supplies upfront keeps a project moving smoothly from demolition through final grouting. A practical checklist typically includes:
- Floor or wall tiles matched to the room’s moisture and traffic level
- Adhesive or thinset suited to the tile substrate
- Grout, spacers, and waterproofing membrane
- Tile cutter, trowel, and sealant
- Sample pieces set aside for benchtop planning if the renovation extends into the kitchen
How does a tiles installation guide fit into the checklist?
A reliable tiles installation guide turns the checklist into a sequence, confirming quantities, adhesive type, and curing times before work begins. Following that sequence prevents wasted material and avoids gaps in coverage once tiling starts. Homeowners who match supplies to the guide’s order reduce the risk of running short mid-job.
Should homeowners inspect tile stock before ordering?
Yes. Choosing ready stock tiles lets homeowners and trades examine color, texture, and batch consistency in person, which keeps renovation timelines faster and more predictable. cite-3 Confirming availability by phone before placing an order removes the risk of delays once the crew needs material on site.