By Verona Ceramic Editorial Team · Updated 2026-09-07
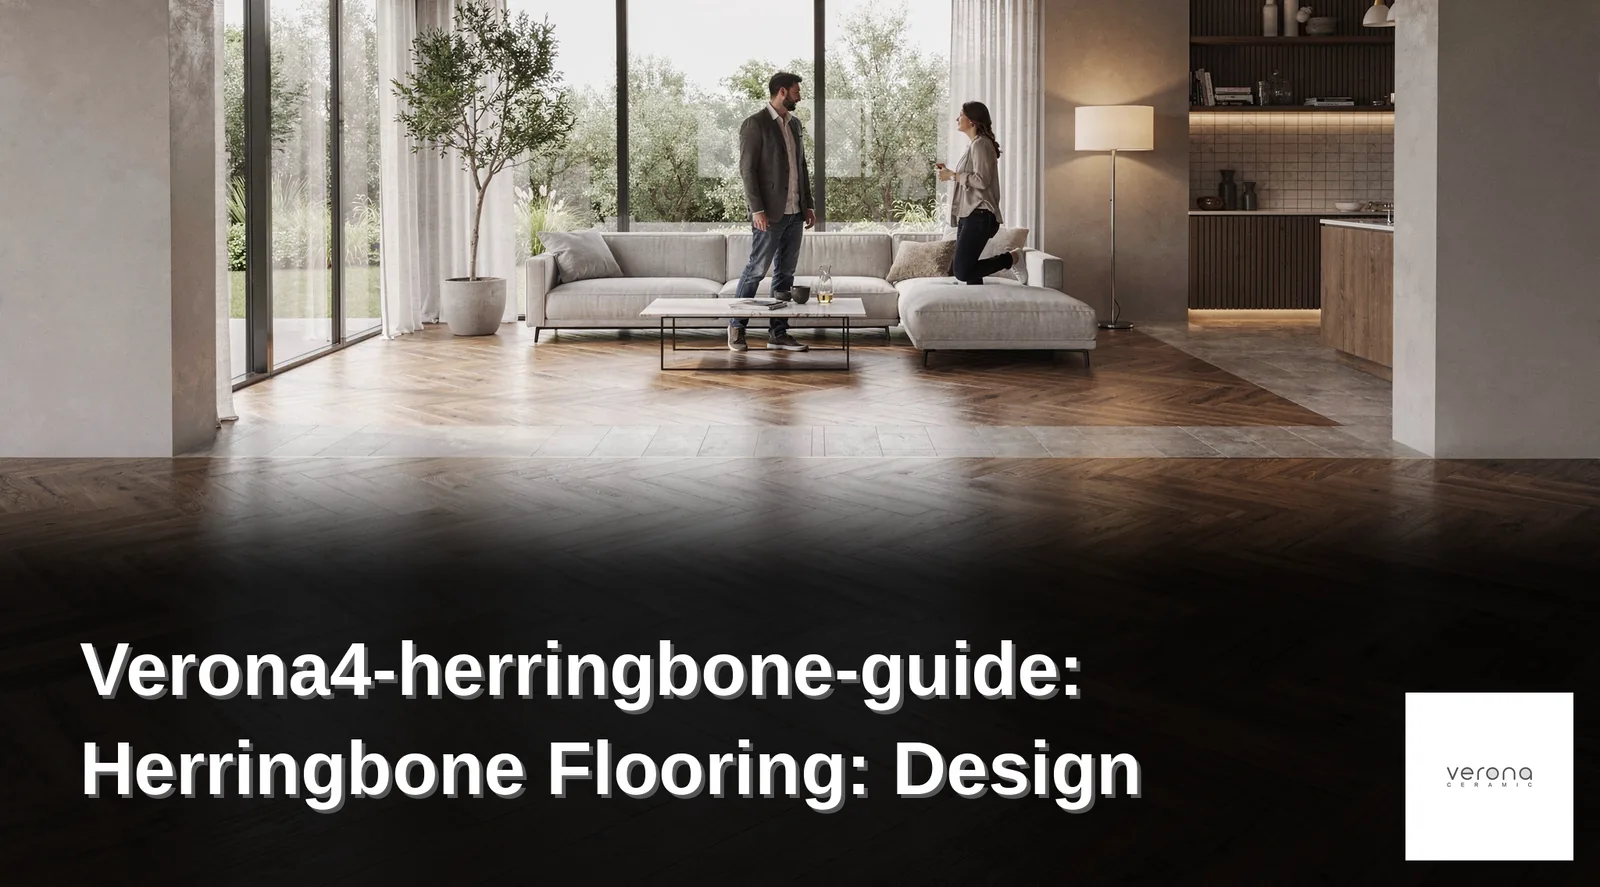
When it comes to verona4-herringbone-guide, herringbone flooring requires a fully level, dry, and primed sub floor before installation begins, ensuring the interlocking “V” pattern sits apartment without sanding or filling. Verona Ceramic, based in Springvale, VIC, guides clients through precise layout and fitting for a refined, long-lasting finish.
Herringbone flooring design relies on a precise “V” interlocking layout requiring level, dry, primed subfloors before installation begins. Engineered parquet blocks, such as V4 Wood Flooring bevel-edged options, skip sanding and filling required by solid parquet. Successful projects combine accurate chalk-line layout, quality engineered timber, and professional installation guidance, delivering the geometric sophistication Australian homeowners and designers seek for premium interiors.
What Do You Need Before Starting a Herringbone Installation?
Three requirements come first: material selection, a compatible subfloor, and a review of physical samples. This verona4-herringbone-guide approach ensures the finished pattern holds up under Australian conditions rather than failing within a few seasons.
Material choice sits at the top of the list. Engineered timber delivers genuine hardwood character with authentic grain, making it a durable choice for verona4-herringbone-patterns. Moisture exposure during preparation needs attention. Homeowners weighing budget, room type, and daily lifestyle demands should compare that option against hybrid flooring, a fully synthetic, waterproof, and scratch-resistant alternative worth considering for wet-prone spaces like bathrooms or laundries.
Should Homeowners Order Samples Before Committing?
Yes. Comparing physical samples of engineered timber and hybrid options confirms color and grain match before a full order ships nationwide. Skipping this step risks a mismatch between showroom expectations and delivered flooring.
What Subfloor Condition Is Required?
The subfloor must be level, dry, and properly primed before any verona4-herringbone-installation begins. Blocks laid over an uneven or damp base loosen over time, undermining the pattern’s structural integrity. Confirming these conditions upfront, alongside material and sample decisions, protects the long-term appearance of the finished floor.

How Do You Lay Out and Install the Pattern?
Successful layout starts with a verona4-herringbone-guide approach: establish a centerline, dry-lay the first blocks, and confirm the angle before any adhesive touches the subfloor. This interlocking V-shaped arrangement creates a sense of movement and refined geometry, suiting both contemporary and traditional Melbourne interiors alike. Skipping this planning stage risks crooked rows that become obvious the moment sunlight crosses the room.
Engineered timber remains Australia’s most-specified flooring choice for this style, valued for authentic grain that reads clearly once the blocks interlock. A genuine hardwood surface brings visual depth to each block that manufactured look-alikes struggle to reproduce. That depth is precisely what makes verona4-herringbone-patterns worth the extra layout effort compared with a straight-plank install.
Installers follow a defined sequence:
- Confirm the subfloor is level, dry, and primed before any layout work begins.
- Snap a centerline and establish a 90-degree working line for the first row.
- Dry-lay several rows to check pattern alignment and block spacing.
- Apply the correct flooring adhesive in manageable sections, never floating the blocks.
- Bond each block fully to the subfloor, working outward from the centerline.
- Check perpendicularity every few rows to prevent drift toward the walls.
Should Herringbone Blocks Be Floated or Glued Down?
Engineered parquet blocks used in herringbone layouts require full adhesion to the subfloor rather than a floating installation. Bonding every block secures the tight, angled joints that define this pattern. A floating system cannot maintain that same interlocking precision under foot traffic.
What Happens If the Subfloor Isn’t Properly Prepared?
Uneven or damp subfloors compromise the adhesive bond and distort the geometric pattern over time. Verona Ceramic’s approved installer programs address subfloor preparation before verona4-herringbone-installation begins, protecting warranty coverage and long-term surface performance.

What Mistakes Should You Avoid After Laying Herringbone?
Skipping recommended steps causes the most damage after a herringbone installation guide has been followed only halfway. Floors left to acclimatize for too short a period, or fitted over an unstable subfloor, often show visible wear within months, and manufacturer warranties become void when instructions get bypassed. Several errors repeat across renovation projects in Australian homes.
- Ignoring room temperature and humidity control before and during fitting, which triggers gapping or cupping in the boards over time
- Selecting engineered timber for a wet-prone bathroom or laundry when hybrid flooring suits that room’s moisture levels better
- Rushing acclimatization periods instead of letting boards settle to the room’s conditions
- Failing to seek advice before finalizing herringbone patterns, leaving mismatched grain direction at room transitions
Why does humidity matter so much for herringbone floors?
Unstable temperature and humidity levels rank among the biggest threats to long-term performance. Boards expand and contract with moisture changes. Inconsistent conditions before installation compound that movement once the floor is down, producing visible gaps or lifted edges.
Renovators uncertain about subfloor prep or timber selection can consult Verona Ceramic, based in Springvale, VIC, for direct guidance before problems set in.
FAQ
What subfloor conditions are required before starting a herringbone installation?
The subfloor must be level, dry, and properly primed before installation begins. ### Why should homeowners order samples before committing to a herringbone floor?
Comparing physical samples of engineered timber and hybrid options confirms color. Grain match before the full order ships nationwide, avoiding a mismatch between showroom expectations and delivered flooring.
What is the first step in laying out the herringbone pattern?
Installers snap a centerline and establish a 90-degree working line for the first row, then dry-lay several rows to check pattern alignment and block spacing before applying adhesive.
Conclusion
In closing, herringbone flooring represents a timeless investment in both aesthetic refinement and structural performance. The geometric precision of this installation method demands technical expertise and material quality that directly influence long-term durability and visual impact. By prioritizing proper substrate preparation, selecting premium materials, and engaging skilled installation professionals, you establish a foundation for flooring that endures decades of use while maintaining its distinctive visual character. This commitment to excellence transforms herringbone from a design choice into a lasting architectural statement within your space.