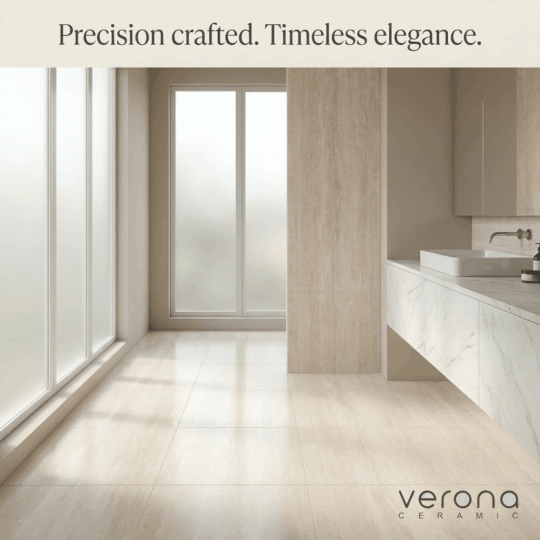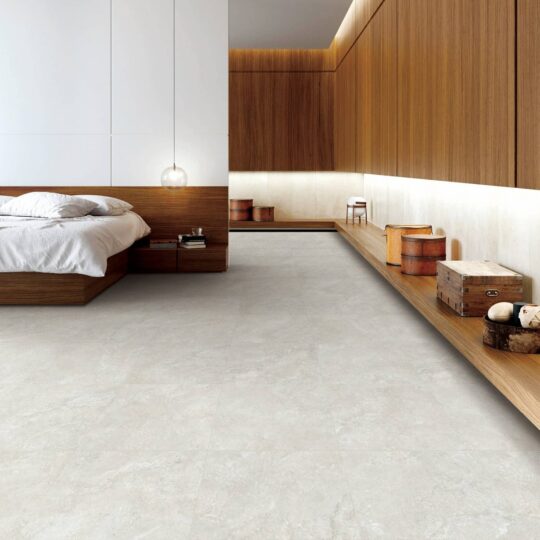
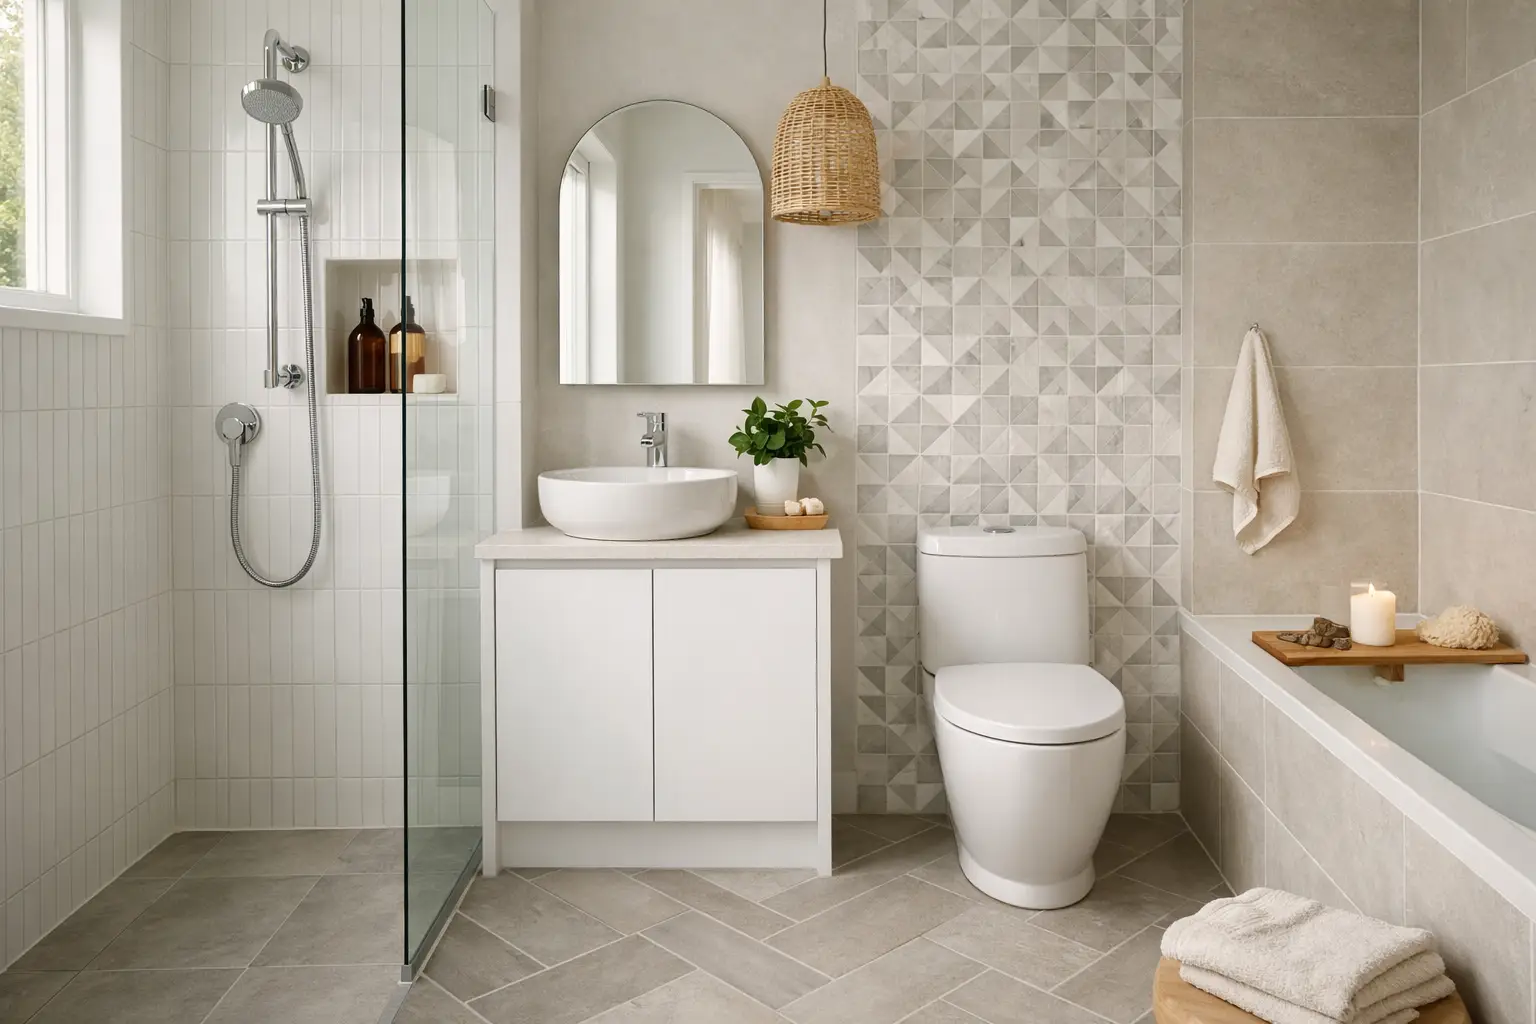
A small bathroom rarely feels small because of its floor area alone. It feels cramped when grout lines are busy, cuts are awkward, and the eye has nowhere calm to rest. The right tile layout ideas for small bathrooms can change that completely, making a compact ensuite, powder room or family bathroom feel more considered without relying on gimmicks.
The best layout is not always the largest tile or the palest colour. It depends on the room’s shape, the shower arrangement, floor falls, natural light and the style of the home. Start with the lines you want people to notice, then choose a tile size and pattern that supports them.
Start with the room, not the tile sample
Before settling on a layout, look at the bathroom as a whole. Identify the longest uninterrupted wall, the shower wall, the vanity position and the first surface seen from the doorway. These are the areas that will have the greatest visual impact.
In a narrow bathroom, laying rectangular floor tiles lengthways can gently draw the eye through the room. In a square room, a more balanced grid often feels cleaner. If the room has a walk-in shower, continuing the same floor tile from the entry into the shower can reduce visual breaks and make the footprint read as one generous surface.
This is also the point to consider tile cuts. A centred layout with equal cuts at opposite walls usually looks more deliberate than a full tile on one side and a very thin strip on the other. Your tiler can set out the tile grid before installation, but planning it early helps avoid surprises around the vanity, niche and doorway.
Use large-format tiles for a quieter finish
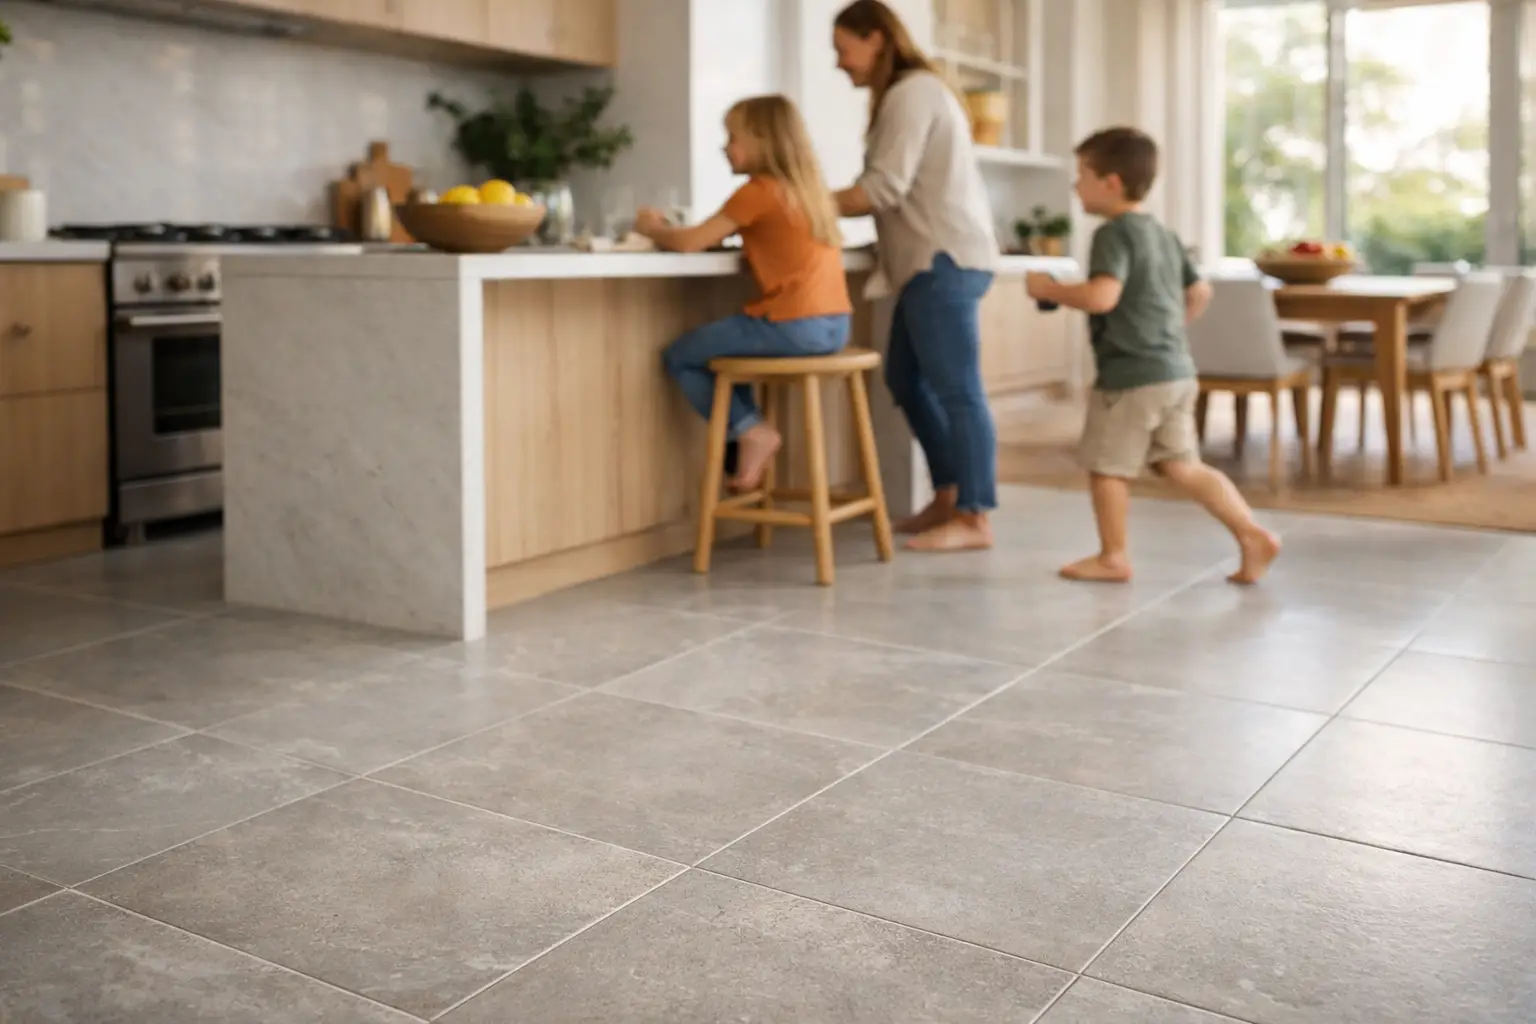
Large-format porcelain tiles are often an excellent choice for a small bathroom. Fewer grout joints create a calmer surface, which can make the room feel less fragmented. A 600 x 600 mm floor tile, or a 600 x 1200 mm tile on a feature wall, can give even a modest room a refined architectural look.
There is a practical balance to strike. Very large tiles may require more cutting in a bathroom with many corners, and shower floors need enough joints and correct falls to drain safely. Large tiles suit the main floor and walls beautifully, while smaller coordinating tiles are often the smarter choice within the shower area.
For floor tiles, select a porcelain product designed for floor use, not simply a wall tile in the same look. Check its wear rating and slip-resistance information, particularly in wet zones. Slip ratings should be assessed for the intended application and in line with Australian requirements, rather than selected on appearance alone. A matt or structured finish can offer reassuring grip while remaining easy to maintain.
Choose a layout that leads the eye
Run rectangular tiles in the room’s longest direction
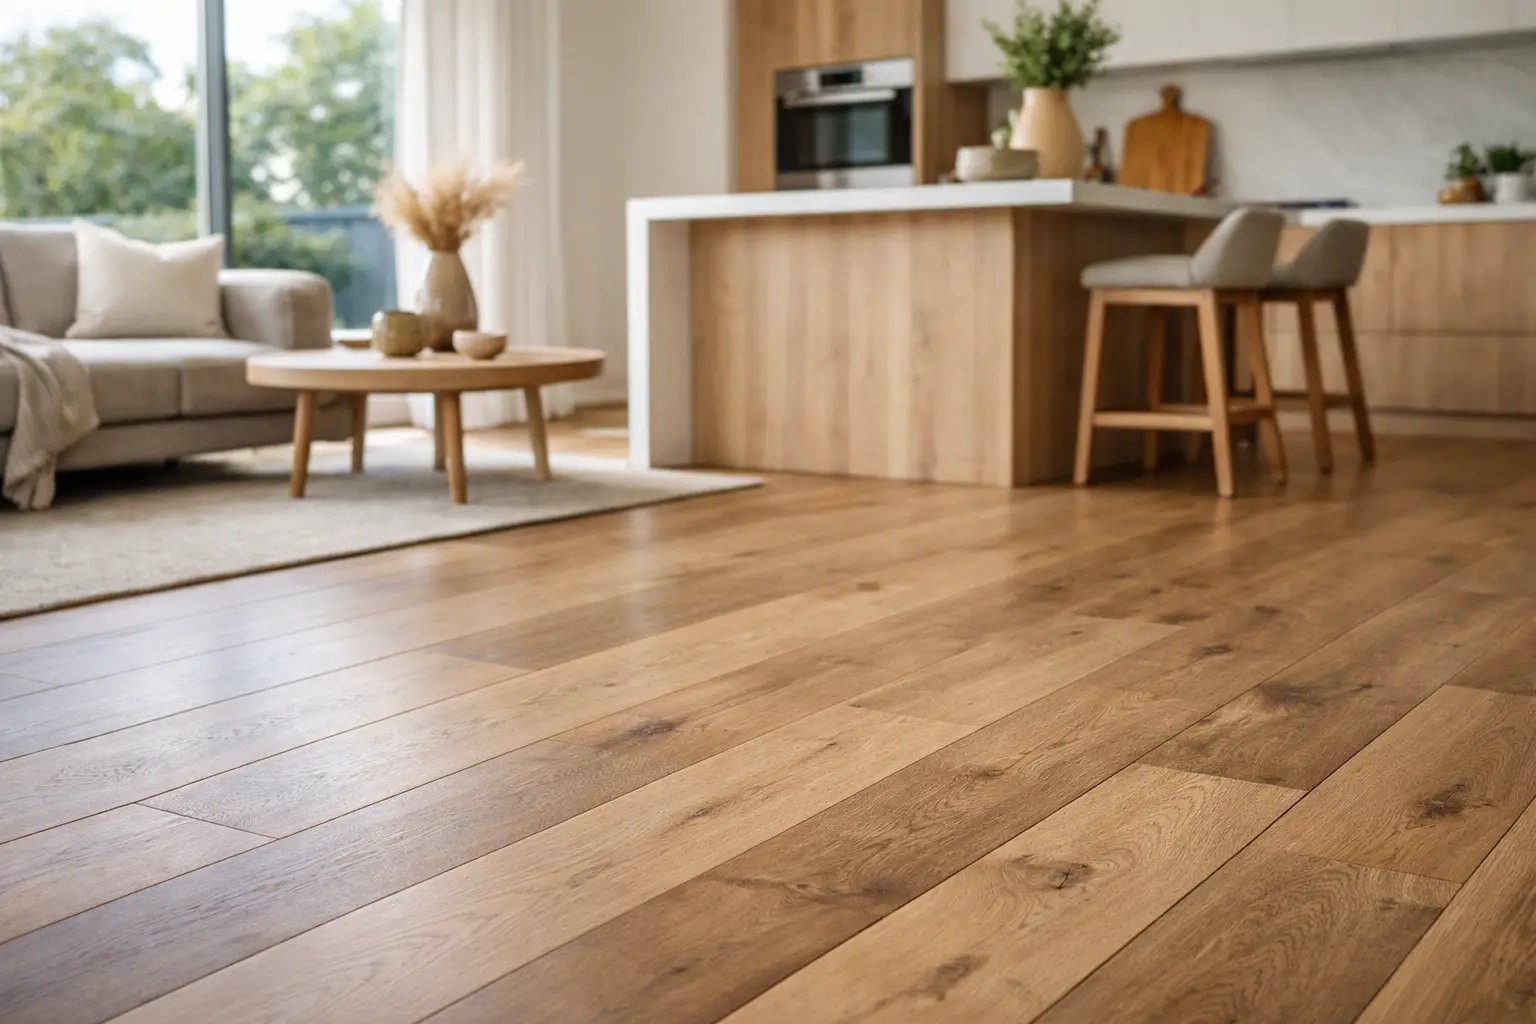
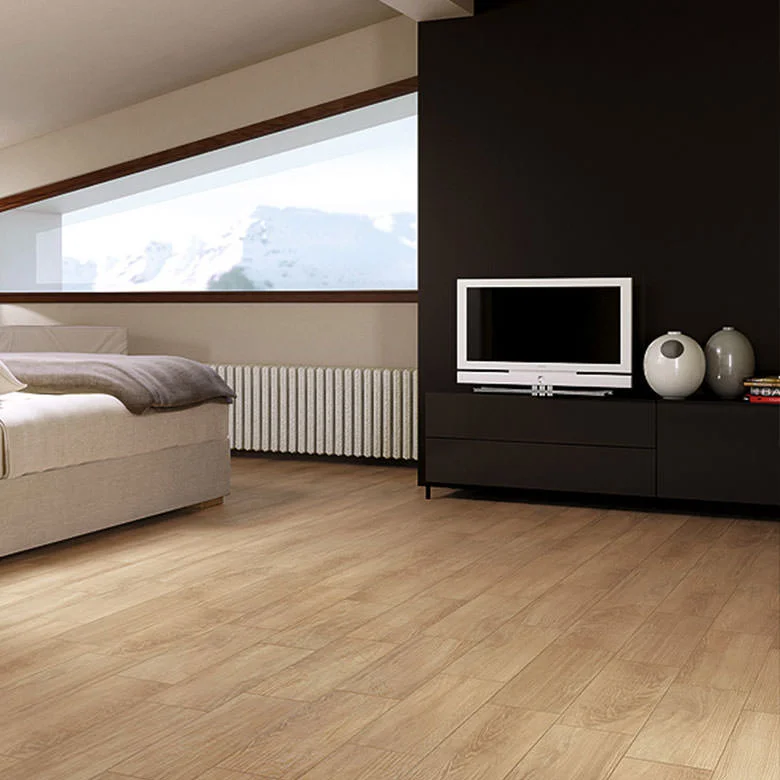
This is one of the most dependable small bathroom tile layout ideas. When a rectangular tile follows the longest dimension of the space, it visually stretches the room. It works especially well with timber-look porcelain planks, soft stone-look tiles and understated concrete-look finishes.
Keep the pattern simple if the tile has strong movement or variation. A straight lay lets the material do the work and is generally more economical to install than a complex pattern. If you prefer a more decorative feel, use a herringbone pattern on one wall rather than across every surface. Herringbone has plenty of character, but it creates more cuts and can feel busy in a very compact room.
Carry the floor tile into a walk-in shower
A continuous floor is particularly effective in an open shower design. It gives the room a cleaner visual flow and can make the shower feel integrated rather than boxed in. Use a matching mosaic or smaller-format version for the shower floor where needed to accommodate falls to the drain.
The colour match does not need to be exact to look cohesive. A larger floor tile outside the shower with a small mosaic in the same tone and finish can provide practical grip and a polished result. Aim for a grout colour that supports the tile rather than drawing a grid across the floor.
Stack wall tiles for modern order
Stacked tiles sit directly above one another, creating crisp vertical and horizontal lines. This layout is ideal for large-format porcelain, square tiles and simple subway tiles. In a small bathroom, its orderly geometry can be more restful than a brick-bond layout with many offset joints.
Vertical stacking can make a low ceiling feel taller, particularly when the tiles run to the ceiling behind the vanity or in the shower. Horizontal stacking can visually widen a narrow wall. Both approaches work best when the tile joints align carefully around niches and fittings.
Use one feature wall with intention
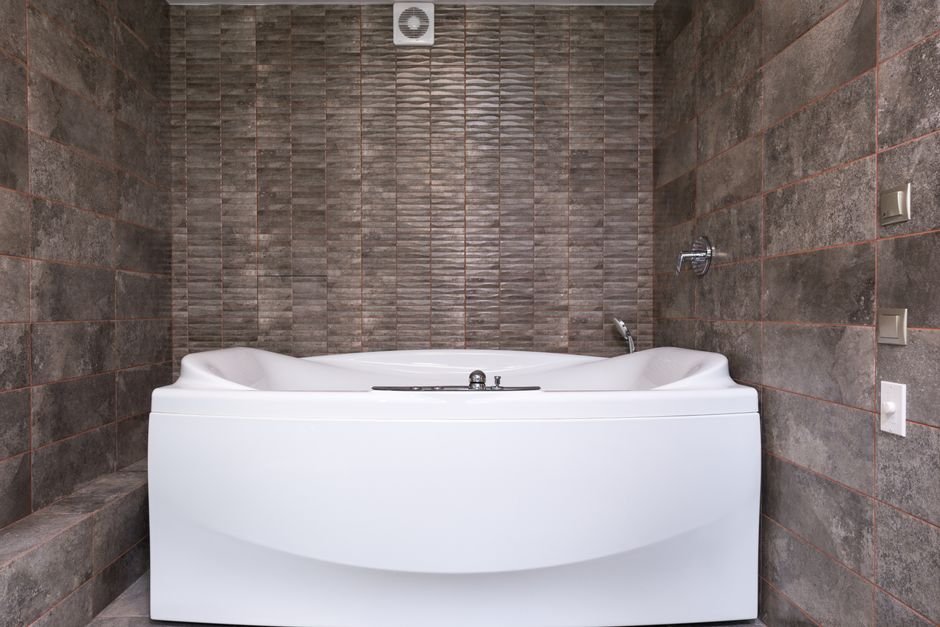
A feature wall should have a job. Behind a vanity, it can frame the mirror and create a focal point when entering the room. In the shower, it can add depth without crowding the rest of the bathroom. Limiting pattern, texture or bold colour to one surface gives it room to be appreciated.
For example, pair a warm white matt porcelain on the main walls with a vertically laid, ribbed-look tile behind the vanity. Or use a soft terrazzo-look tile in the shower niche and a quieter large-format tile around it. Repeating a feature tile everywhere can make a small room feel visually full very quickly.
Think beyond white, but keep contrast controlled
Light tiles are popular in compact bathrooms because they reflect available light and feel fresh. They are not the only option. Warm greige, pale stone, muted sage and soft charcoal can all make a small room feel inviting when the layout is simple and the lighting is considered.
The key is contrast. Dark grout with pale small tiles produces a strong grid, which can be stylish but often makes every joint more noticeable. A grout shade close to the tile generally gives a more spacious, continuous effect. It is also a practical choice for households that want a finish that looks tidy between regular cleans.
If you choose a darker tile, consider taking it up a single wall or using it below vanity height, balanced with lighter walls and good mirror lighting. Rich colour can add depth, but a dark floor, dark walls and dark ceiling together may make a room with limited natural light feel enclosed.
Make niches, edges and transitions part of the design
The details are what make a tiled bathroom feel professionally resolved. Plan the shower niche around the tile module where possible, so it avoids narrow slivers at the sides. A niche lined with the feature tile can look intentional, while a shelf tile that matches the main wall keeps the effect restrained.
Consider where wall tile will finish. Full-height tiling in the shower is a sound, low-maintenance choice. Outside the shower, a tiled vanity wall can protect high-splash areas and create a more premium finish. There is no need to tile every wall to the ceiling if budget or style points elsewhere, but end tile runs at a logical line such as the top of a door frame or a horizontal datum.
For external corners, matching porcelain trim pieces or neat mitred edges can give a more refined finish than exposed tile edges. Discuss the preferred method with your tiler before ordering, as it affects quantities, lead times and installation labour.
Choose materials built for everyday bathroom use
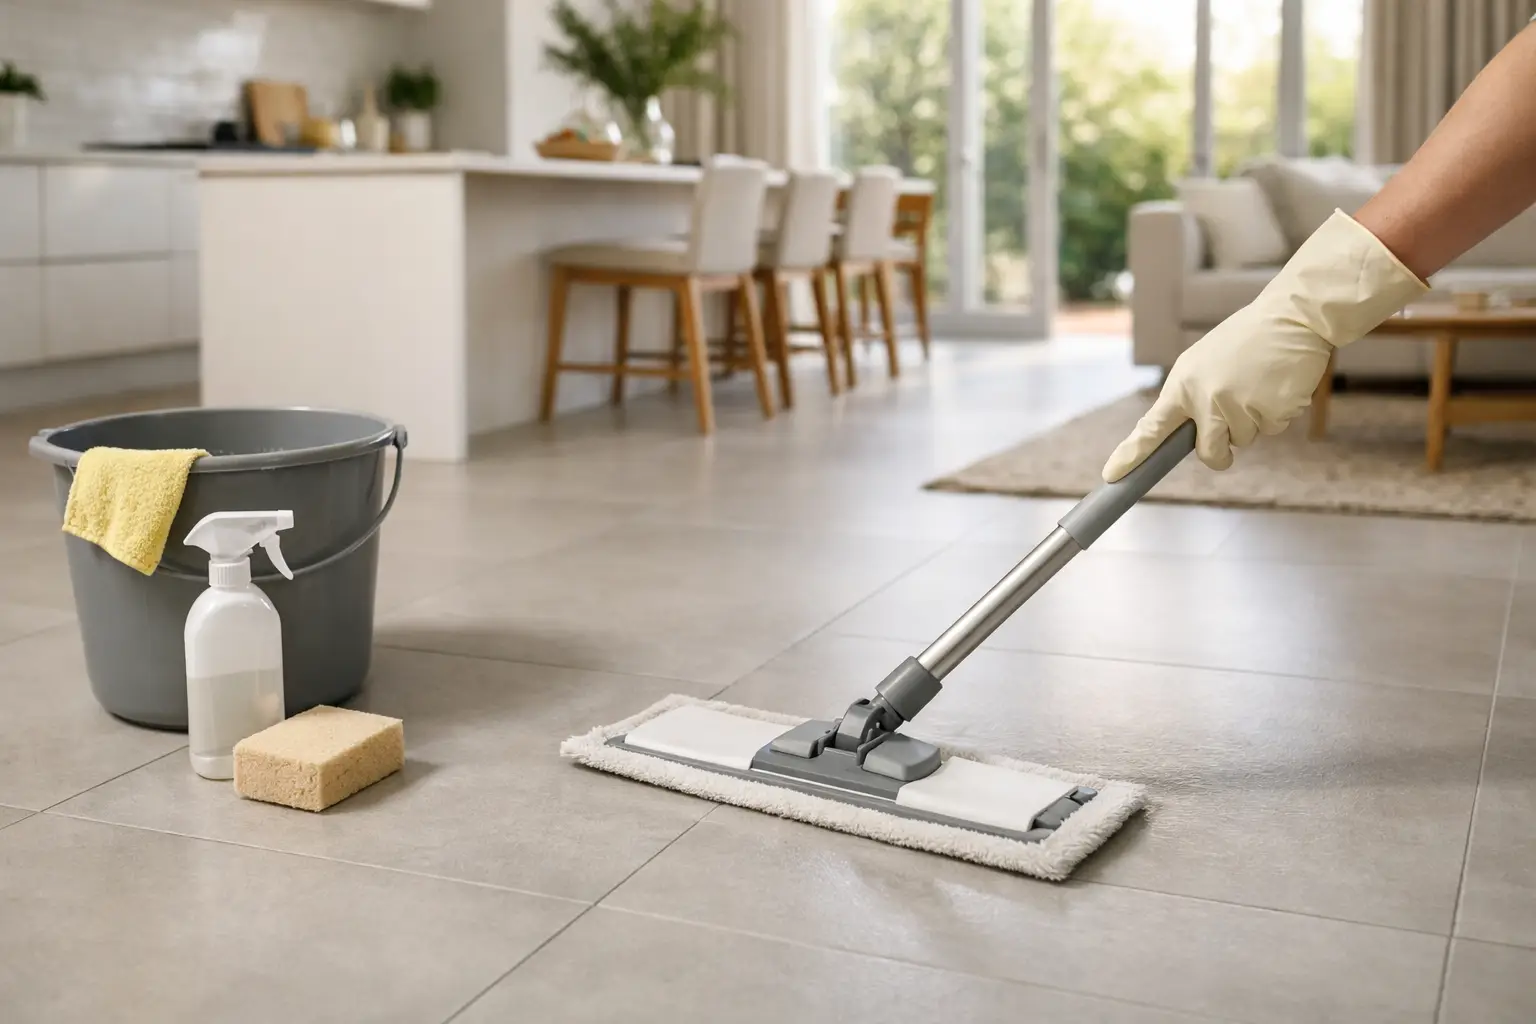
Porcelain is a practical option for busy bathrooms because it is dense, durable and low-absorption. A quality glazed porcelain tile is well suited to wall applications, while a suitably rated porcelain floor tile handles daily foot traffic, moisture and cleaning with ease. Avoid choosing solely from a small sample under showroom lighting. Take samples home and view them beside your vanity finish, paint colour and lighting at different times of day.
For Melbourne renovators, ready warehouse stock can also make a real difference to the project schedule. At Verona Ceramic, a measured layout and 3D design discussion can help clarify tile quantities, feature-wall placement and how a selected range will work with the room before installation begins.
A small bathroom should feel considered, not overdesigned
The most successful layouts usually have a clear hierarchy: a calm main tile, a practical shower-floor solution and one carefully chosen detail. Let the tile size suit the room, keep grout lines purposeful and allow functional requirements such as drainage and slip resistance to guide the final decision.
A well-planned tiled bathroom does more than look larger on completion day. It creates a durable, easy-care space that stays comfortable and beautiful through the everyday routines of family life.