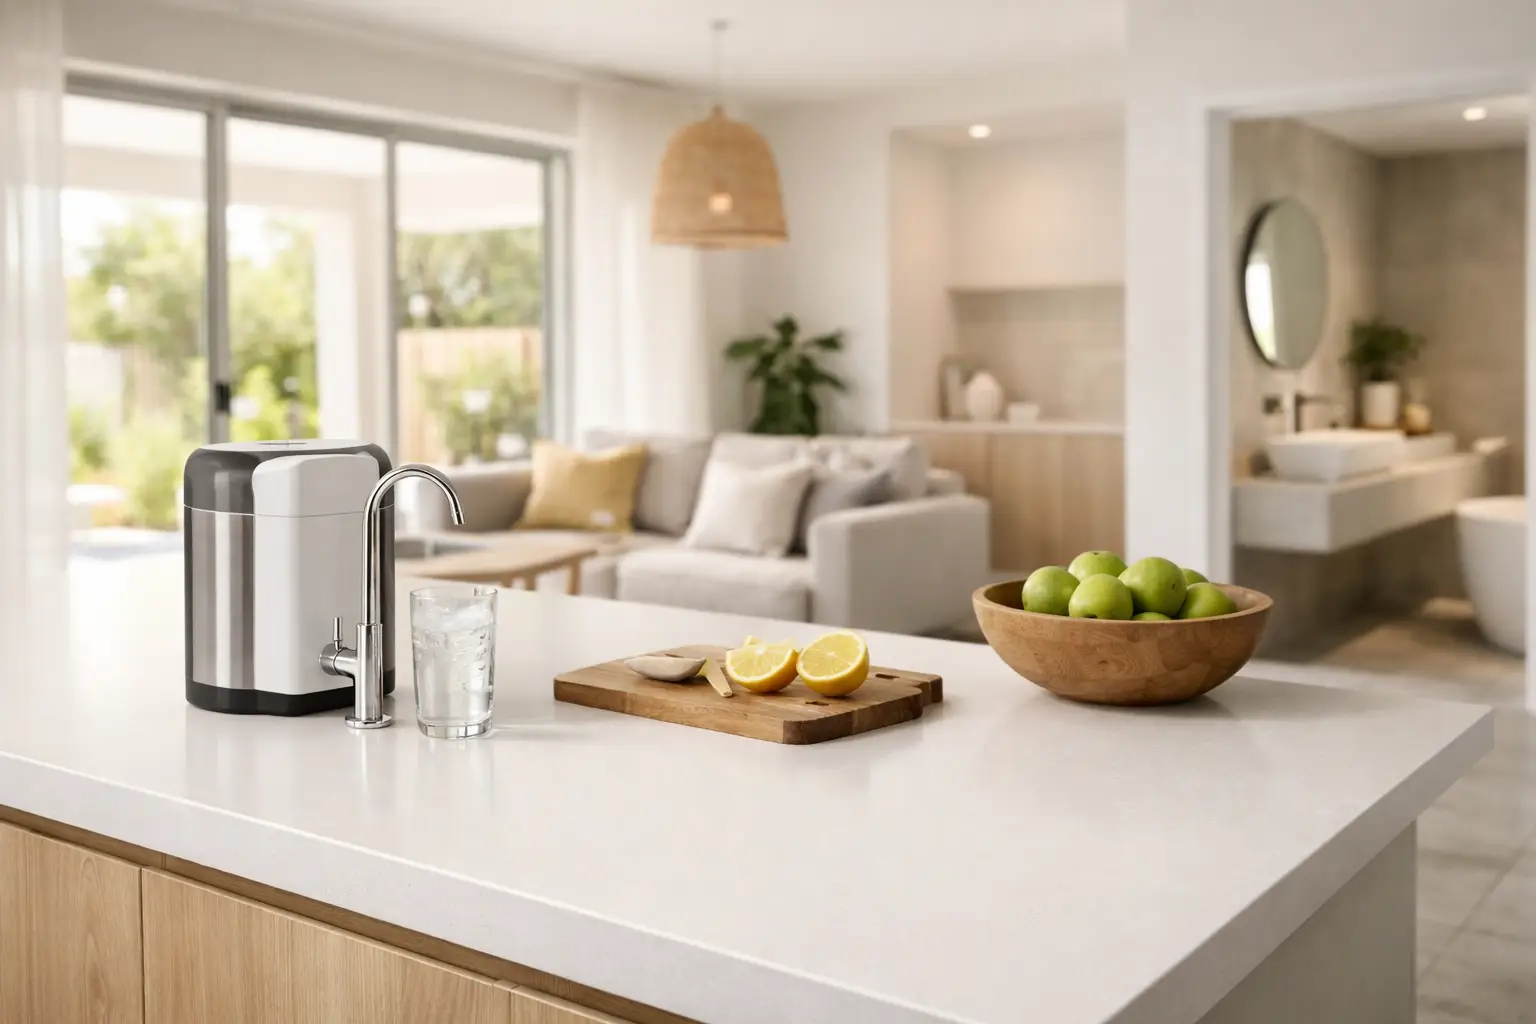
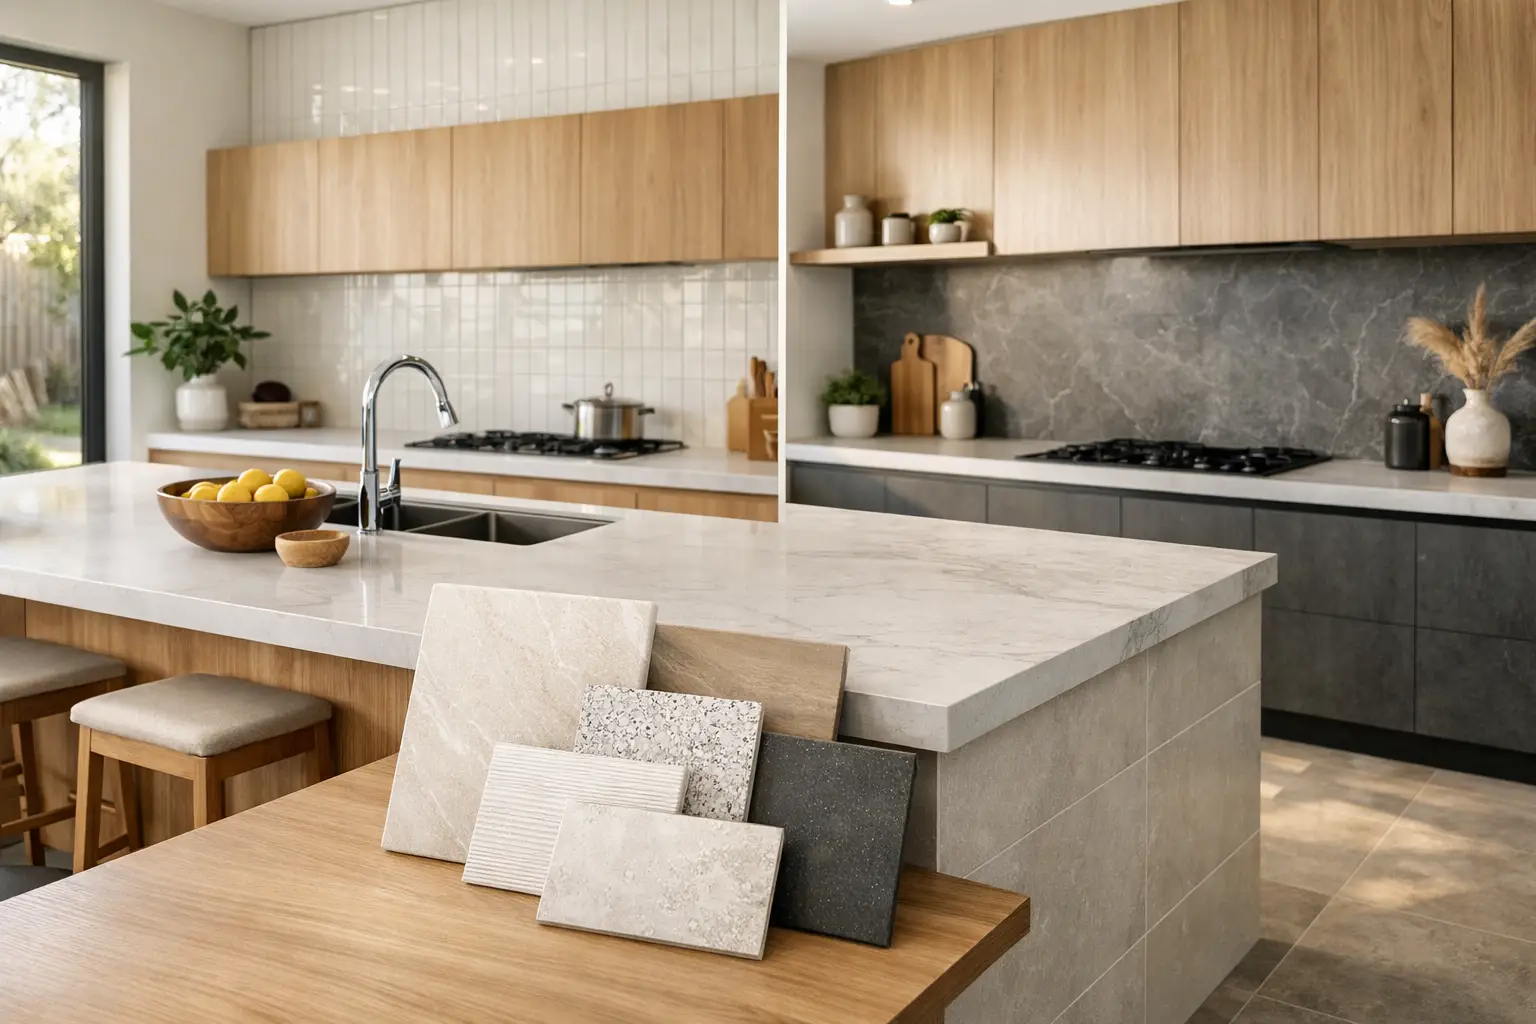
A kitchen renovation earns its value in the busy moments: muddy shoes at the back door, pasta sauce near the splashback, school bags dropped beside the island and weekend gatherings around the bench. This Melbourne kitchen renovation tile example shows how a considered mix of porcelain floor tiles, a refined splashback and a zero-silica engineered stone benchtop can create a kitchen that feels elevated while remaining easy to live with.
Rather than selecting finishes one by one, start with how the entire room needs to perform. The most successful kitchens balance light, scale, texture and cleaning requirements from the outset. That approach also helps homeowners, designers and builders make clearer decisions about stock, lead times and installation details before cabinetry is locked in.
A Melbourne kitchen renovation tile example for family living
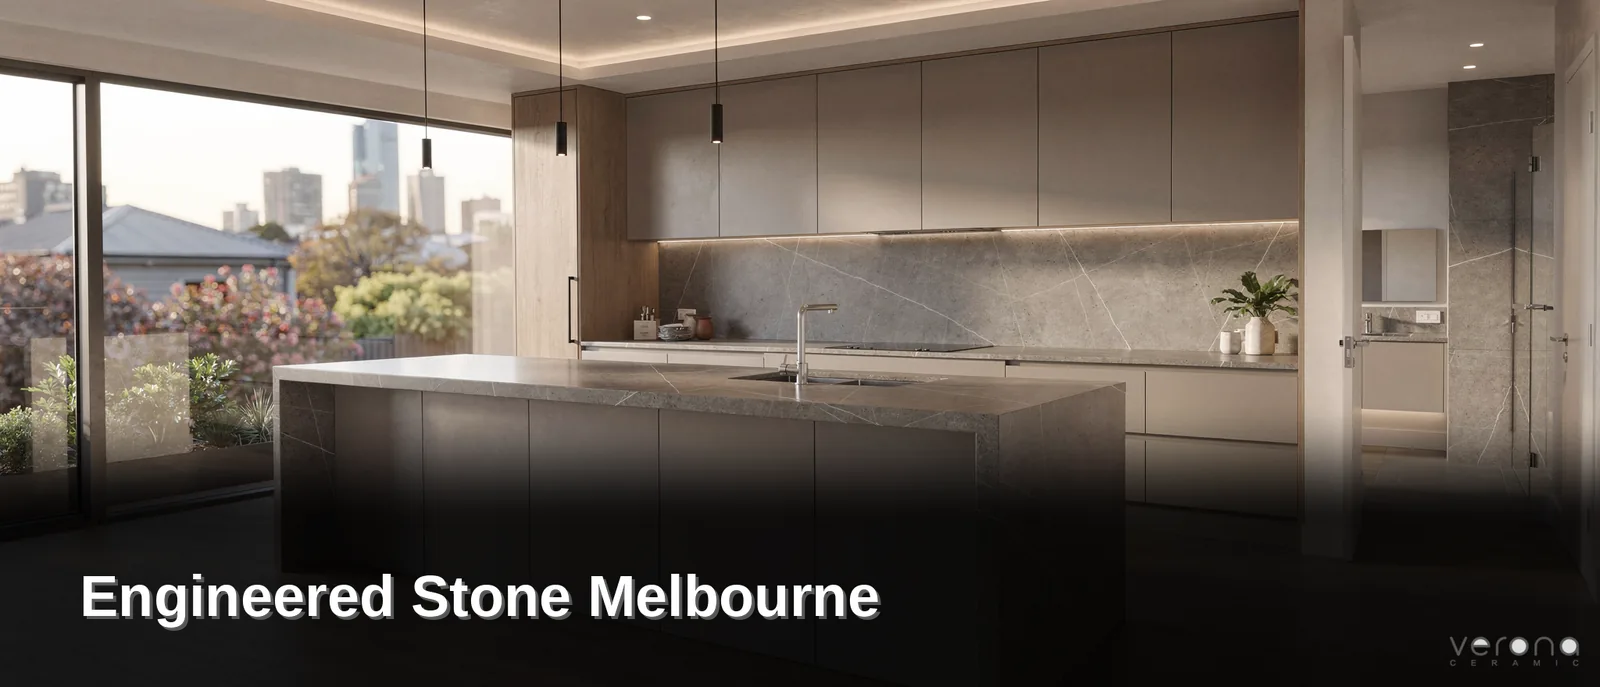
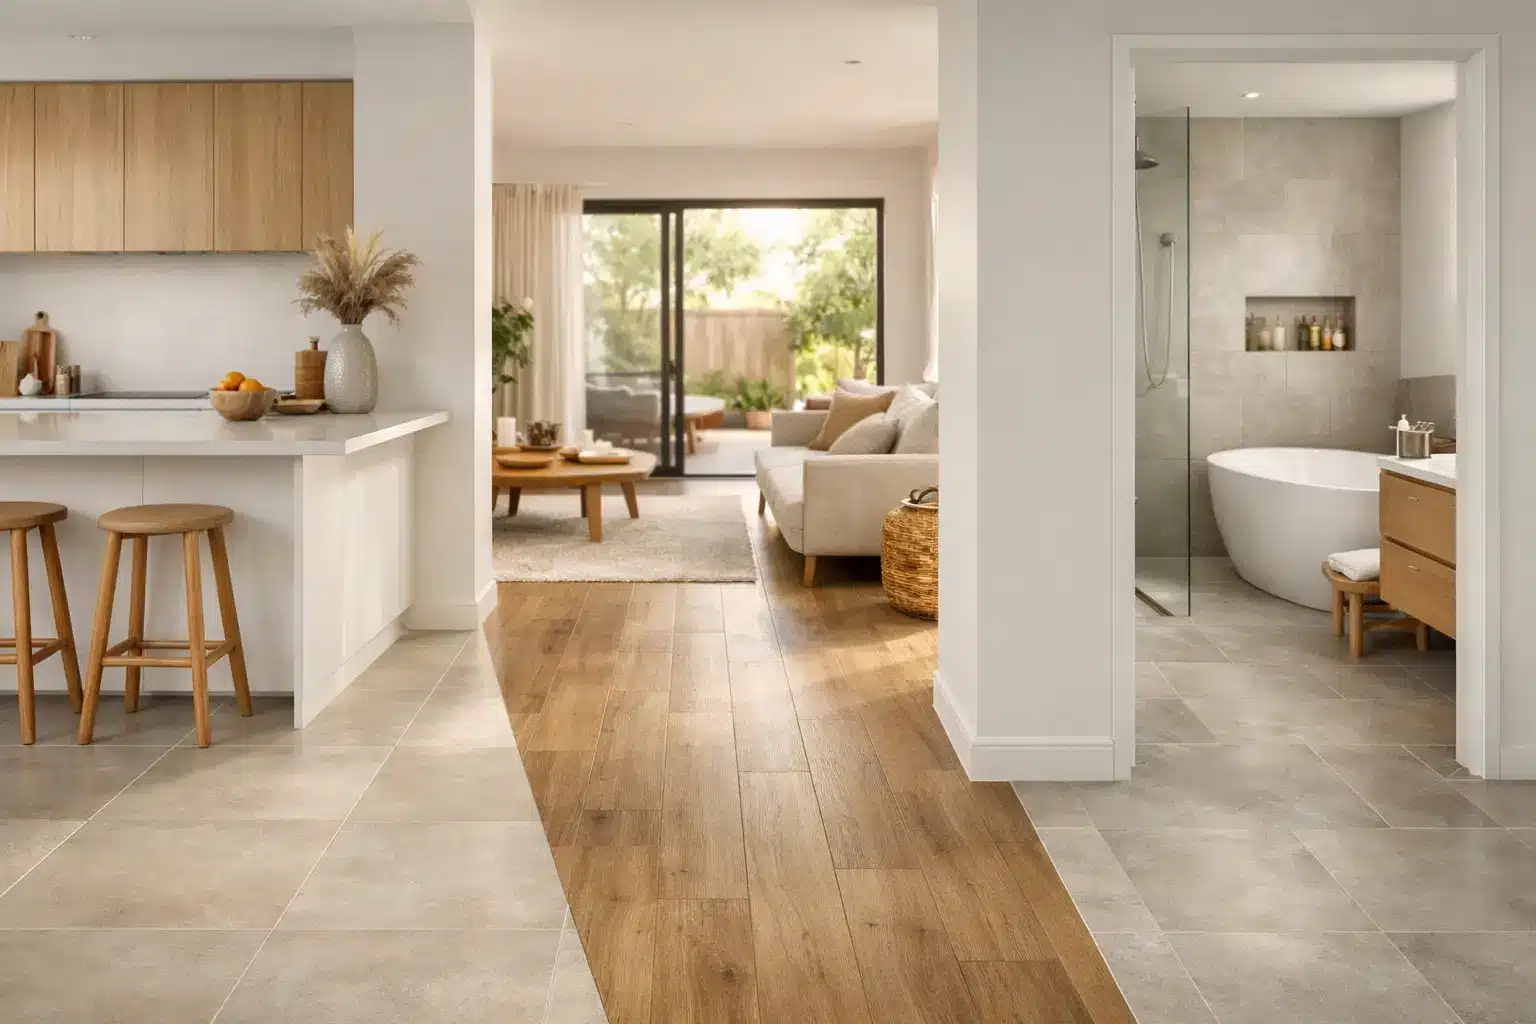
Picture a light-filled Melbourne kitchen with warm oak-look cabinetry, soft white walls and a generous island. The floor is finished in a 600 x 600 mm matte porcelain tile in a gentle greige stone look. It gives the room a calm architectural base without competing with timber grain, handles or feature lighting.
For the splashback, a slim rectangular porcelain tile in a warm white gloss finish is laid vertically. The vertical orientation draws the eye upwards and gives a standard-height splashback more presence, while the gloss surface reflects natural light around the work zone. A pale grey grout keeps the joints defined without making daily cooking marks overly noticeable.
The island and perimeter benchtops use a pale zero-silica engineered stone surface with delicate mineral movement. Its quiet pattern links the warmer floor and cleaner white splashback, allowing the cabinetry to remain the visual centre of the room. The result is not a showroom-only kitchen. It is a practical, welcoming space with finishes chosen for everyday use.
This combination works particularly well in open-plan homes because the floor tile can continue into the dining and living area. Fewer flooring transitions make the space feel larger and easier to furnish. It also gives families one durable, easy-clean surface across the zones where life tends to get messy.
Why porcelain is a strong kitchen floor choice
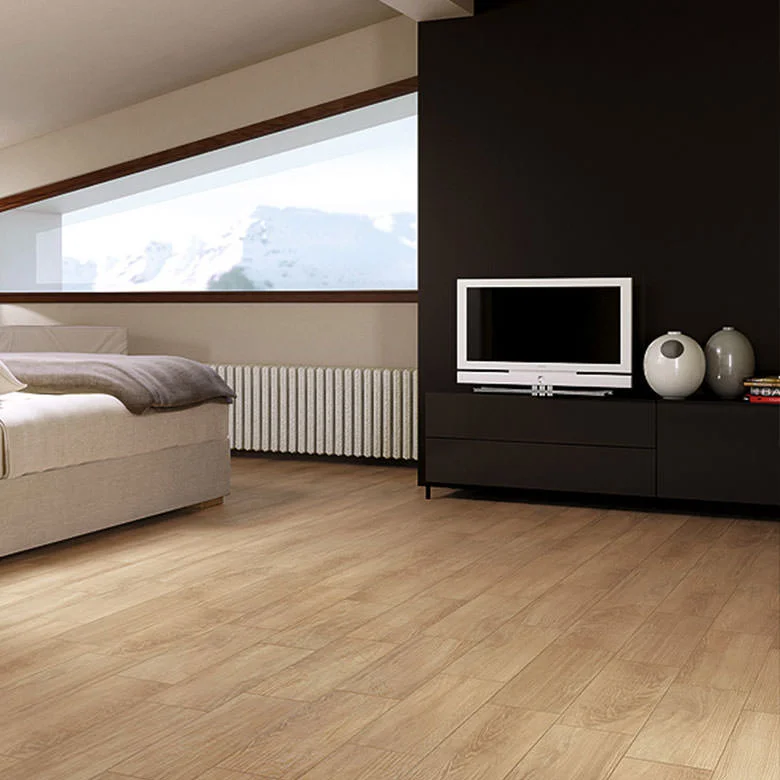
Porcelain tiles are fired at high temperatures and have very low water absorption, making them well suited to kitchens where splashes, spills and frequent cleaning are expected. Unlike some natural materials, quality porcelain does not need regular sealing. A matte porcelain finish is often the most forgiving choice underfoot because it softens glare and disguises light dust, footprints and small water marks better than a highly polished surface.
For a busy household, consider a tile with enough visual variation to hide the ordinary signs of use. A flat, very pale tile can look striking, but it may show crumbs and marks quickly. Conversely, a heavily patterned tile can make a compact kitchen feel restless. Mid-tone stone looks, subtle concrete looks and gently veined designs often offer the best middle ground.
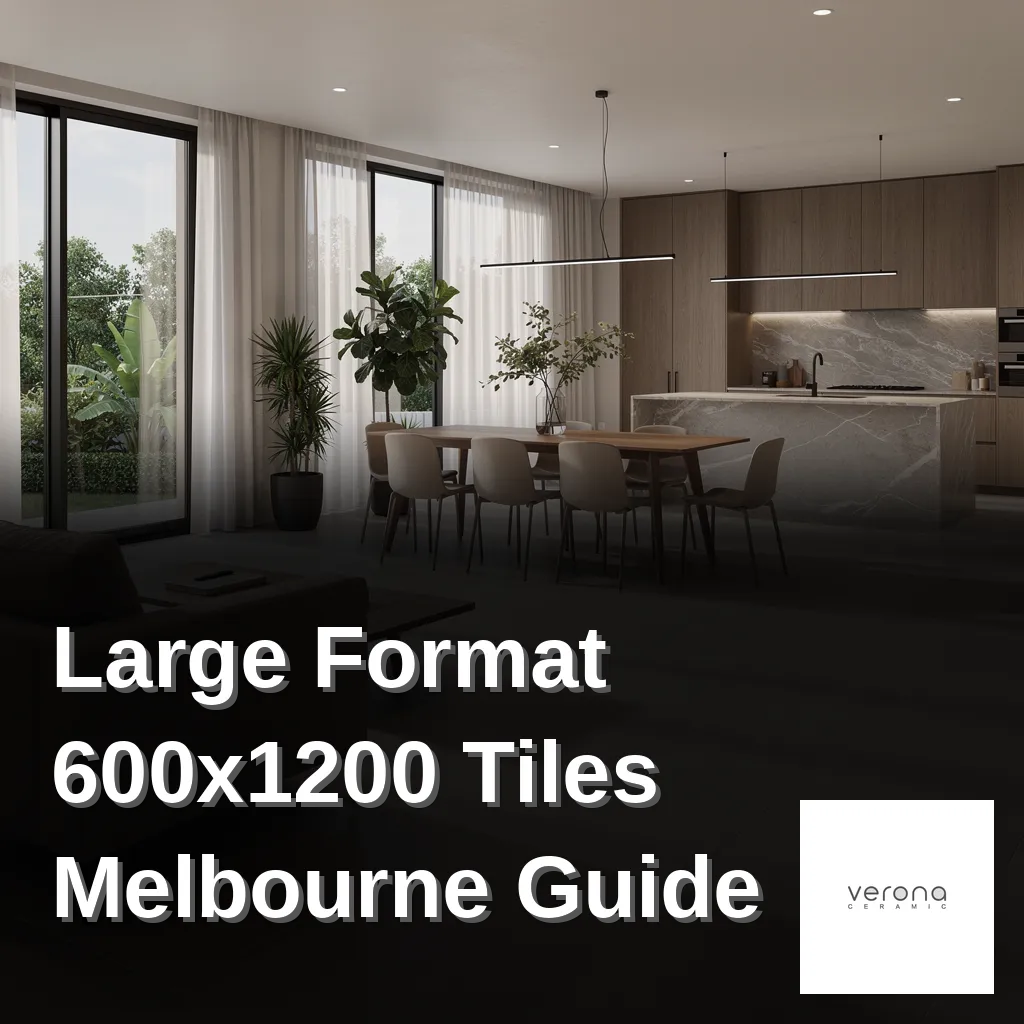
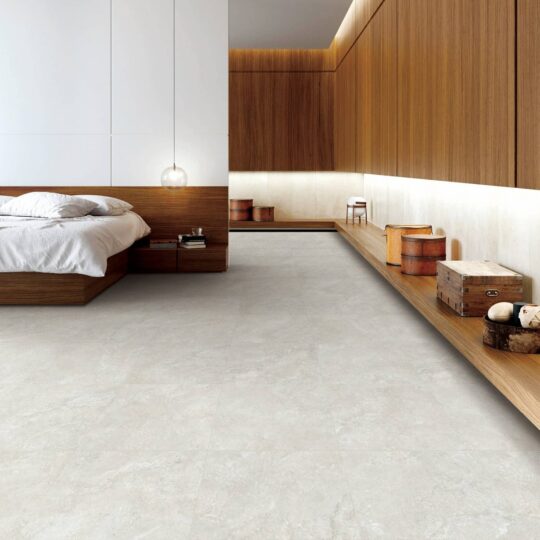
Tile size changes the character of the room. A 600 x 600 mm format is a reliable option for many kitchen layouts because it feels contemporary, is straightforward for experienced tilers to set out and generally produces fewer grout joints than smaller tiles. Large format tiles, such as 600 x 1200 mm, can create a more expansive premium look, especially through an open-plan area. They do, however, demand a flatter substrate, thoughtful handling and a skilled installation team to achieve even joints and lippage control.
Where floor safety is a priority, ask about slip-resistance suitability rather than choosing by appearance alone. A kitchen floor needs a finish that feels comfortable to walk on but can still provide appropriate grip when wet. The right rating depends on the specific tile, the layout and nearby areas such as an external door, laundry or butler’s pantry. Your tiler can also advise on preparation and installation requirements to support Australian standards.
Bringing floor, splashback and benchtop together
A kitchen can include several finishes without looking busy, but each should have a clear role. The floor usually carries the largest visual area, so it is sensible to begin there. Choose its colour family first, then use the splashback and benchtop to add contrast or refinement.
In the example above, the matte greige floor provides warmth and durability. The white vertical splashback brightens the wall plane and offers a wipe-clean surface behind the cooktop and sink. The zero-silica benchtop introduces a fine, controlled pattern at bench height, where people naturally look and gather.
There are other effective directions depending on the home. A darker charcoal porcelain floor can anchor light cabinetry in a contemporary renovation, although it may show pale dust more readily. A full-height porcelain slab splashback creates a minimal, low-joint finish and can be ideal for premium architectural kitchens, but it requires accurate measurements and careful coordination with cabinetry, power points and rangehood details. Smaller format splashback tiles bring character and texture, though more grout lines mean a little more cleaning attention.
Benchtop selection should also be a safety conversation, not only a colour decision. Zero-silica engineered stone is designed to provide the refined appearance and everyday performance homeowners expect from an engineered surface while avoiding crystalline silica in the material. For renovators planning ahead, this can support a safer specification pathway alongside attractive, durable kitchen finishes.
Practical details that make the example work
The visual concept is only half the project. Good outcomes depend on decisions made before tiles are ordered and cut. Confirm the final kitchen footprint, appliance locations and island dimensions early, particularly if the same floor tile continues into adjacent rooms. This lets the tiler plan balanced cuts at walls, doorways and island edges instead of leaving narrow, awkward pieces in highly visible places.
Grout colour deserves more attention than it usually receives. Matching grout closely to the tile makes a large format porcelain floor feel quieter and more continuous. A contrasting grout can suit a handmade-look or subway-style splashback, but a strong contrast will make every line part of the design. For family kitchens, a mid-tone grout is often more practical than brilliant white around cooking areas.
Allow for movement joints and suitable edge trims where required. These modest details protect the installation as the building moves and temperatures change. They also give exposed corners, niches and splashback returns a neat finish. A quality tile is a long-term material, so the preparation beneath it and the workmanship around it matter just as much as the surface itself.
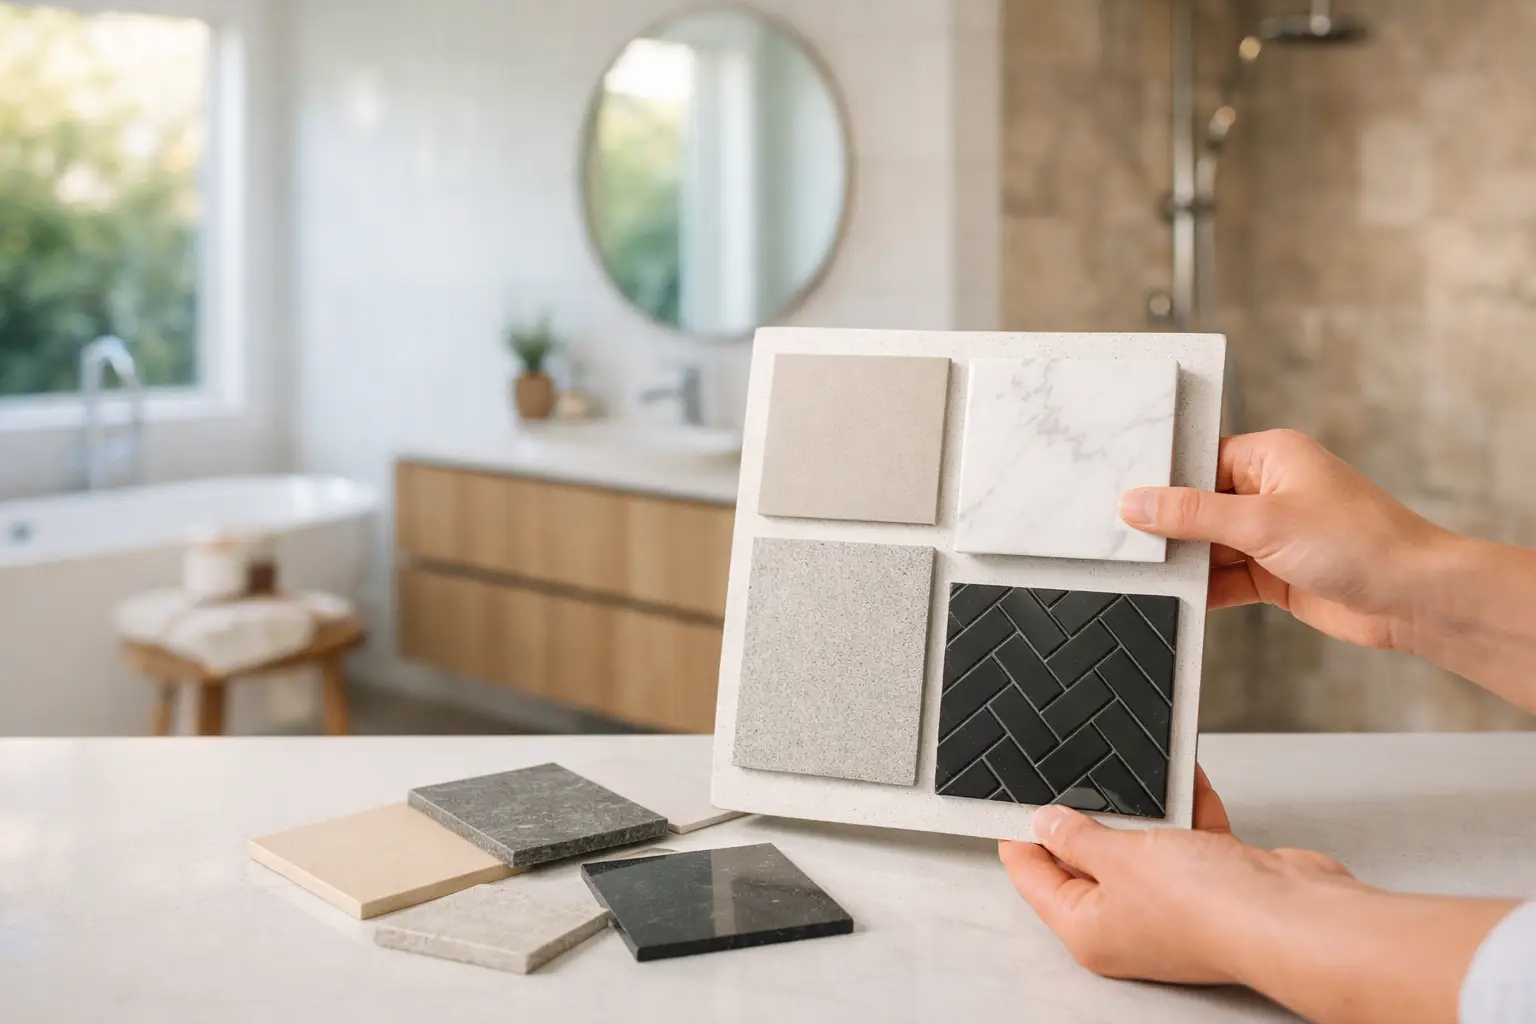
Before committing, take samples home and view them at different times of day. Melbourne light can shift considerably between a bright north-facing room and a shaded extension. Put the tile beside cabinet door samples, paint swatches and benchtop samples, then look at them under both natural and artificial light. What appears cool under showroom lighting may read warmer at home.
Choosing materials with renovation timing in mind
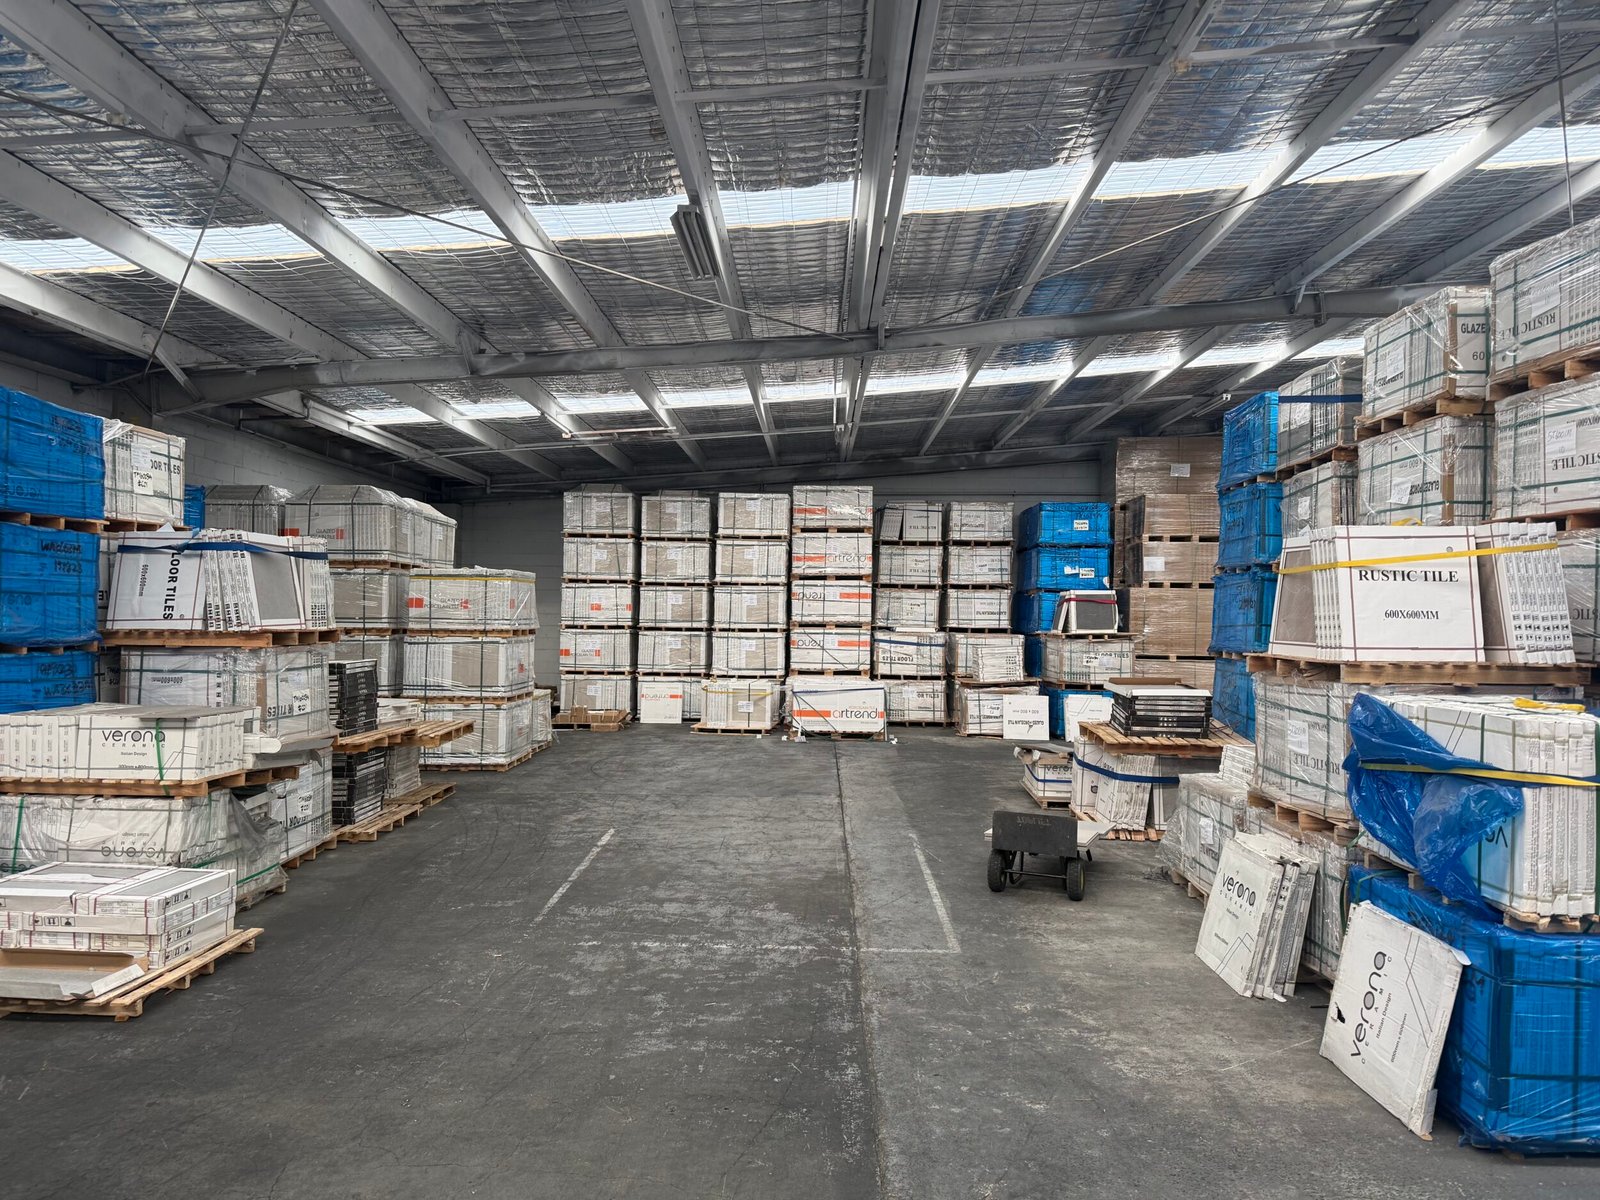
A beautiful specification is more useful when it can be delivered at the right point in the build. Renovation schedules are often tight once demolition, cabinetry and plumbing work begin. Selecting ready stock tiles from a Melbourne warehouse can reduce uncertainty, particularly when a builder needs floor materials before final installation dates are confirmed.
It is worth ordering enough material for the planned layout, cuts and a sensible allowance for future repairs. The exact quantity depends on room shape, tile format and laying pattern. Herringbone, diagonal layouts and rooms with many corners generally create more cutting waste than a straightforward grid. Your supplier and tiler can help calculate a realistic quantity rather than relying on floor area alone.
At Verona Ceramic, homeowners and trade customers can pair factory-direct tile selection with free measuring and 3D design support, helping them see how proportions, finishes and layout choices may work before installation begins. This is especially useful when coordinating large format tiles, splashback lines and a new island bench in the same renovation.
The strongest kitchen finishes do not need to shout. Choose porcelain tiles that feel good under daily use, a splashback that makes cleaning simple, and a zero-silica benchtop that suits the way your household gathers. When those choices are made as one considered scheme, the kitchen will keep looking composed long after the renovation dust has settled.